Hi all! Today I am going to share a fun yard art project that I am calling screwball flowers. I had seen these floating around FB and no tutorial, but had to have some of my own. Really wasn’t sure what to call them, but these are made from a wood ball and screws. Hence the name screwball flowers. The ones that I had seen on FB may have been made using golf balls. Not having any golf balls but knowing that I could find some large wood balls at Hobby Lobby I decided to go with that.
***This post contains affiliate links… We are a participant in the Amazon Services LLC Associates Program, and affiliate advertising program designed to provide a means for us to earn fees by linking to Amazon.com and affiliated sites at no extra charge to you. Please read my full advertising disclosure for more info. Thanks so much for your support!***
Diy Screwball Flowers
Start by drawing a line around the wood ball. Then turn and draw another line, repeating this will divide the ball into sections for drilling the holes.
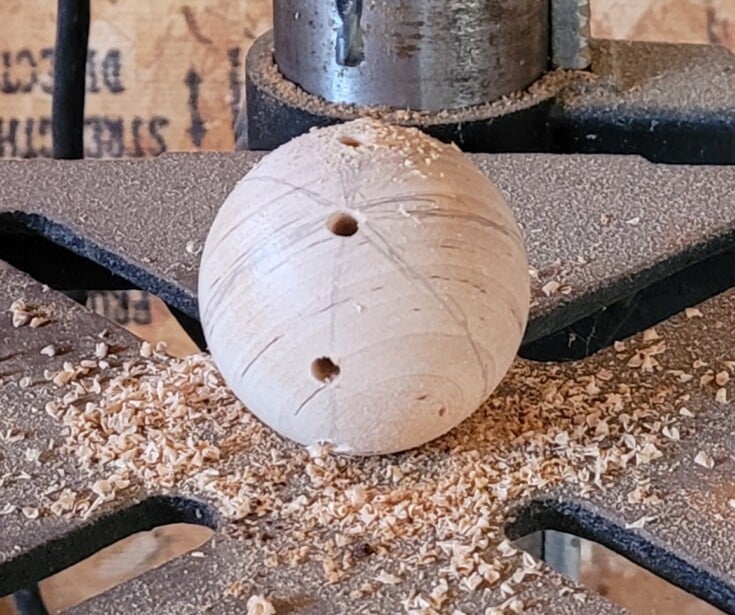
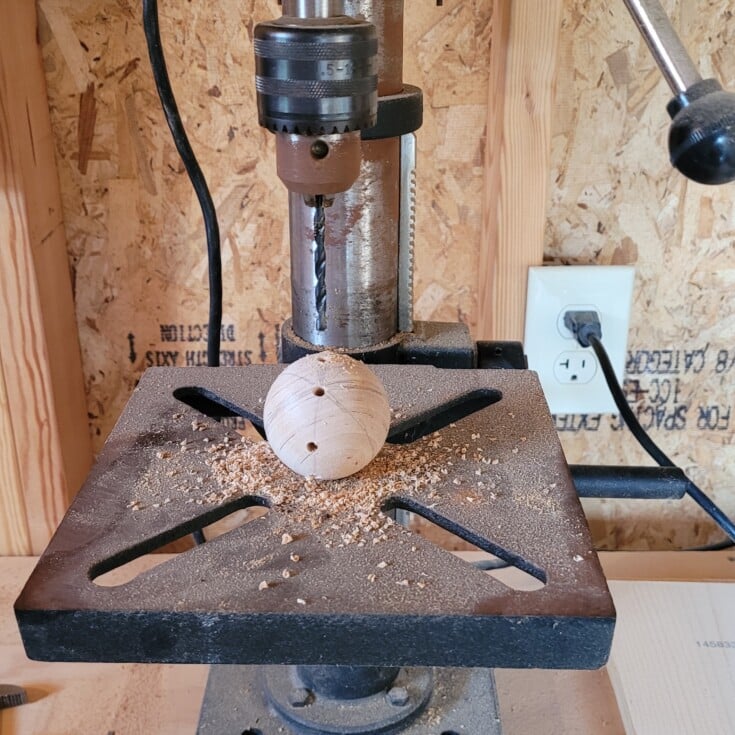
Pick a drill bit that is slightly smaller than the wood screws and place the bit in the drill press. Now for the hardest part, drilling the holes. Hold the ball in place while drilling the holes.
Try to follow the lines drawn and just go around the ball drilling holes about ½” apart and around ½” deep. Be careful and don’t be concern if the holes are a little off line.
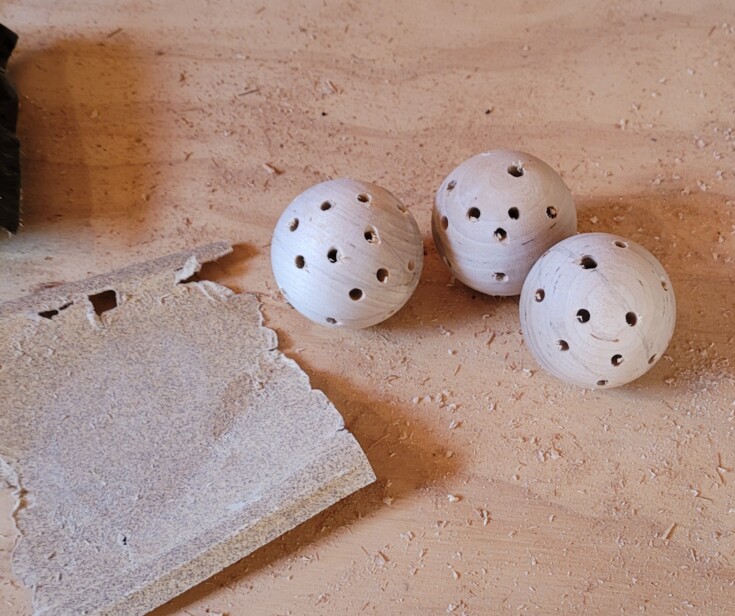
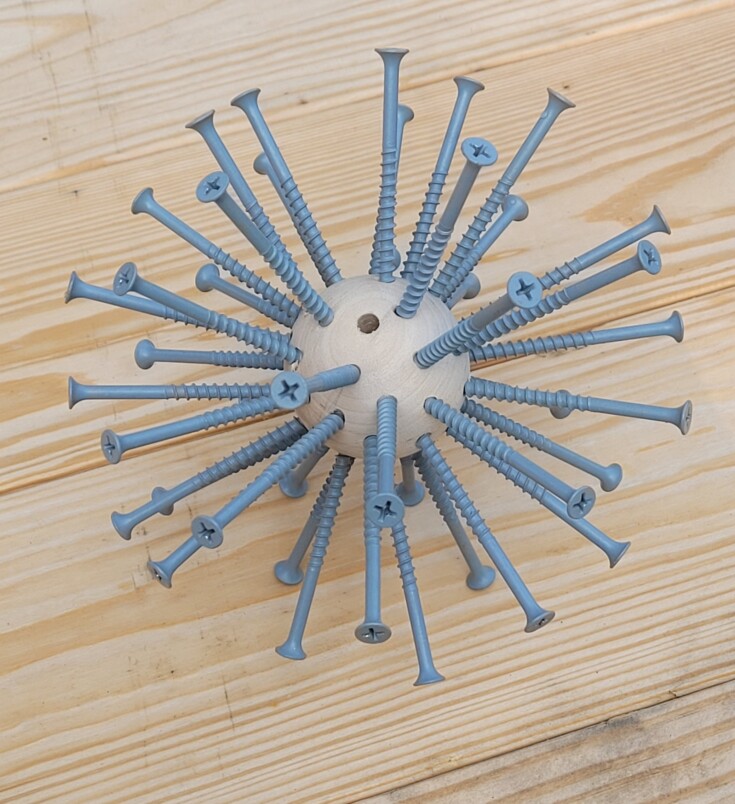
The last hole needs to be a little large to accommodate the metal rod that will be holing the screwball flowers up.
Give each wooden ball a quick sanding.
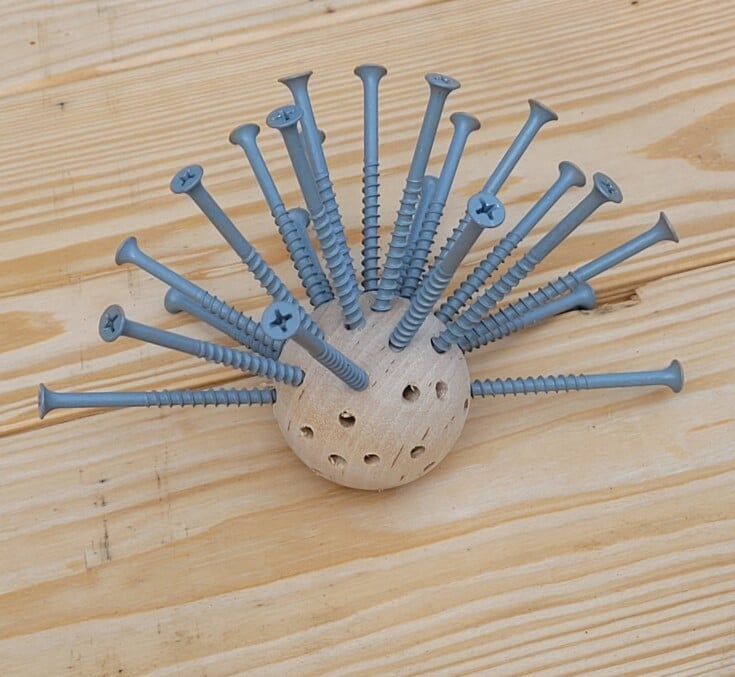
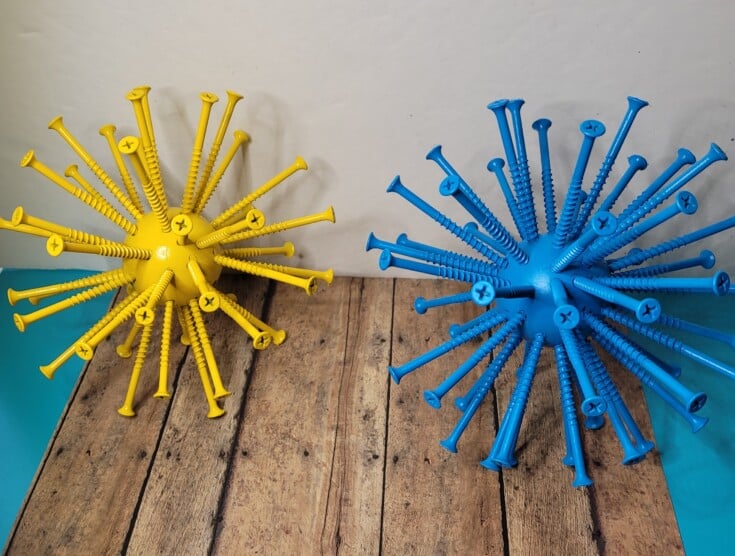
Now for the fun part! Screwing all the wood screws into the wooden ball.
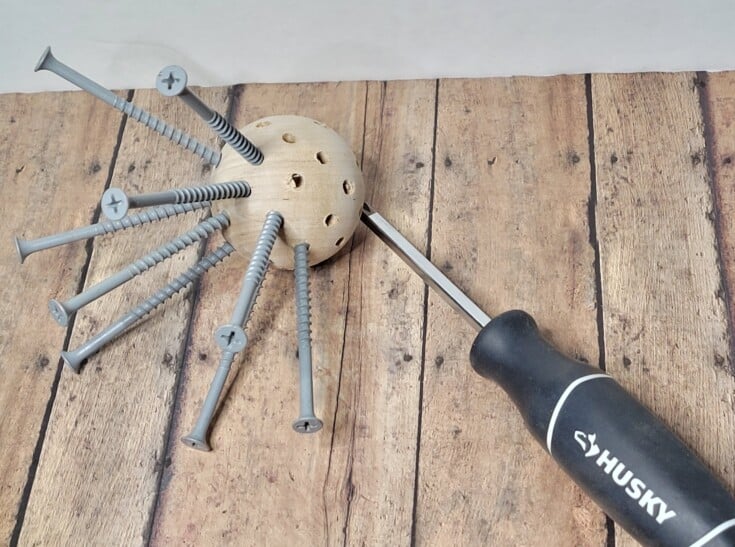
I went through two boxes of wood screws and still was about five short. So, I just used some screws that I had on hand even though they were a little shorter. Once done your really couldn’t tell the difference.
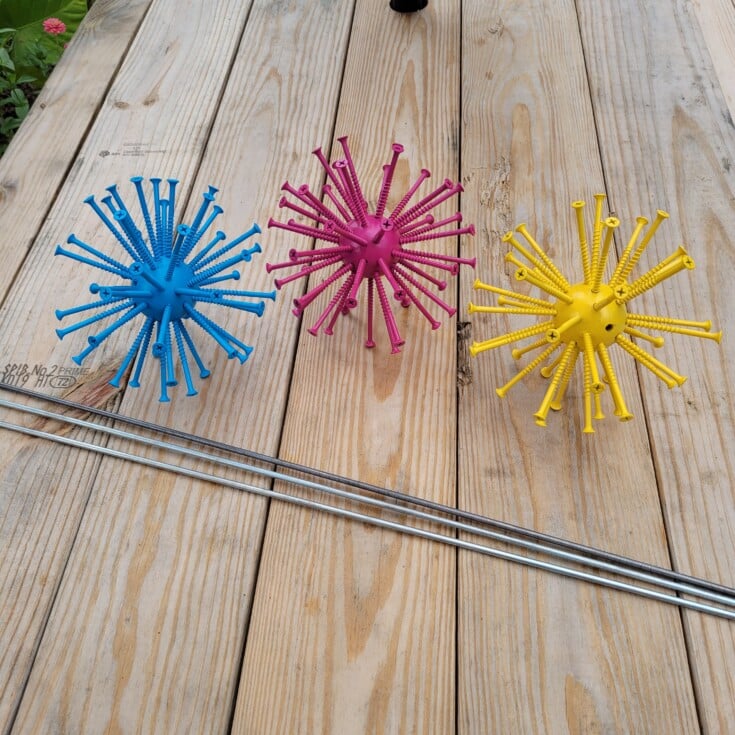
When all the screws are in place paint each flower, a different color using spray paint.
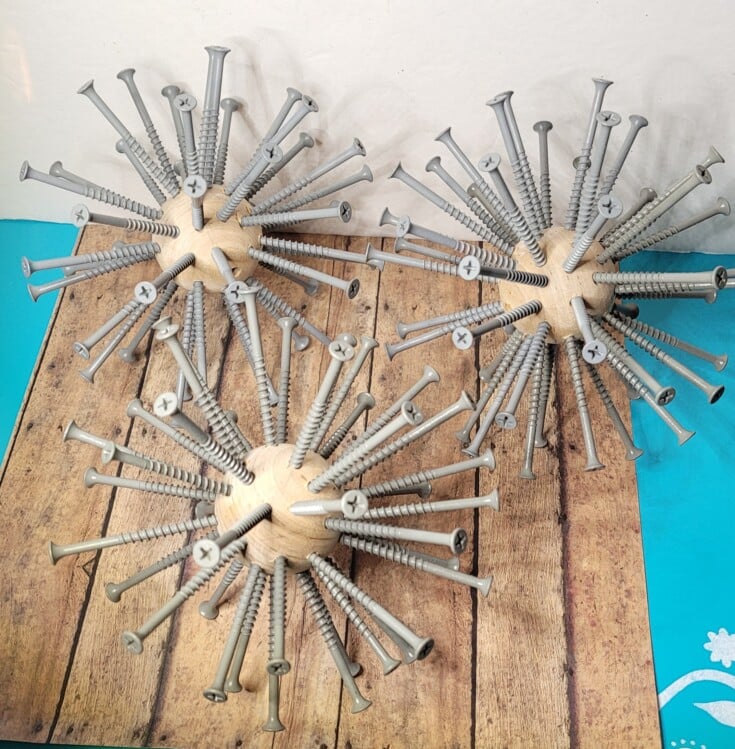

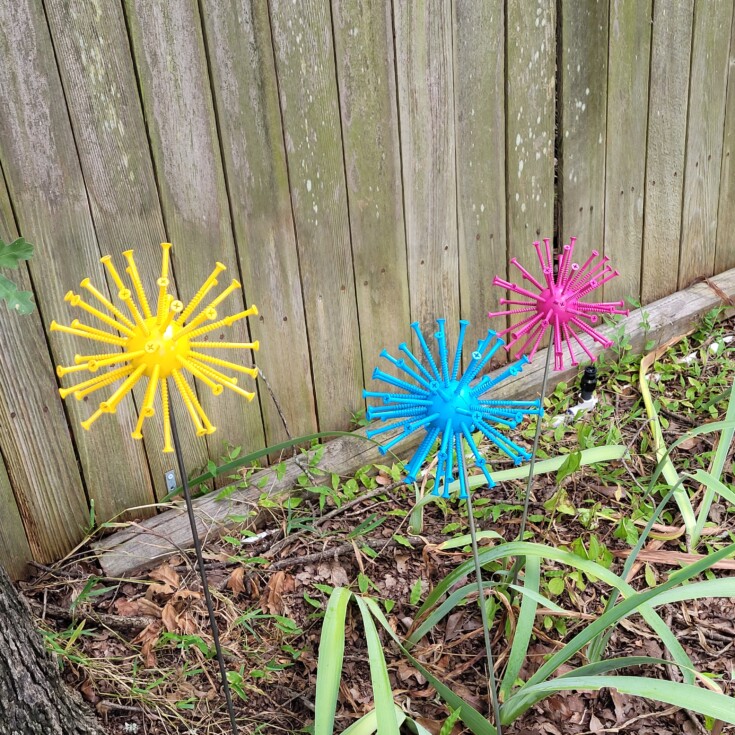
Once all 3 diy screwball flowers are dry take the metal rods and hammer them into the ground at different heights and place the flowers on top of the rod in the larger hole.
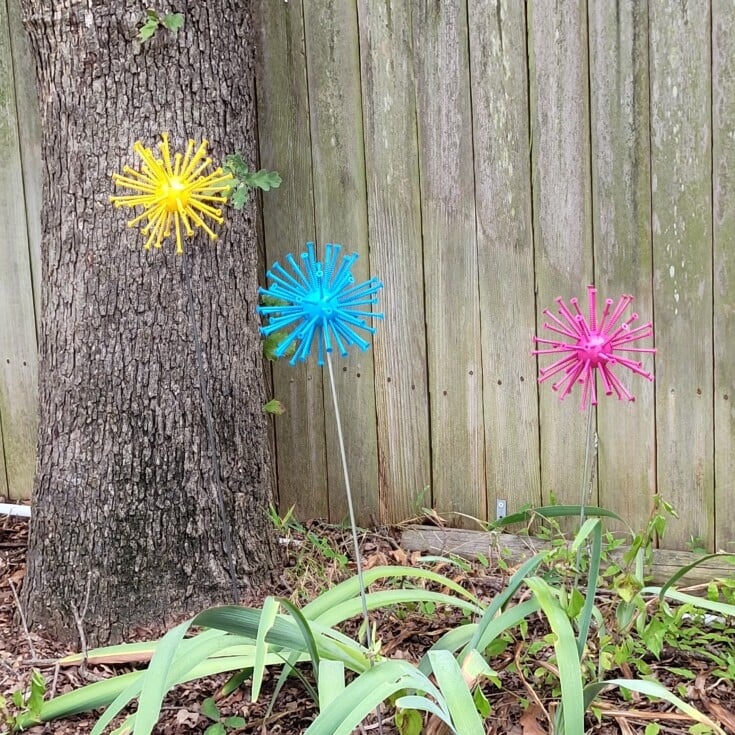
That’s it for these fun diy screwball flowers. Perfect yard art! Don’t you think?
Supplies for 3 Diy Screwball Flowers
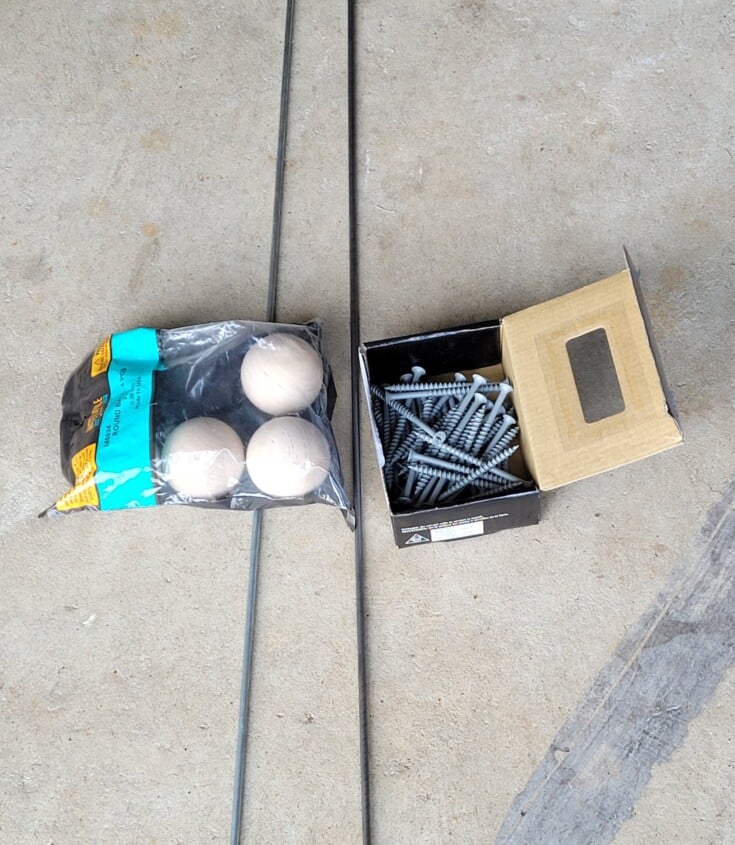
3″ wood balls
2 boxes of Exterior wood screws 3”
3 Metal rods 3 – 4 foot in length 5mm round
Drill press and bits
Spray paint pink, blue, yellow
Screwdriver
More Yard Art
Lamp yard art
Super easy diy yard art
Repurposed pitcher with bling
I want some!!!!!!! But I think I’ll see if I can find polystyrene balls. With my luck, I’d probably drill a hole right through my finger.
Aren’t they soooo cool? I love them and want more. I will have to google the polystyrene balls and maybe try those too. Yet I was worried about my fingers.
Loved ur project.!!! I am going to make this but could u clarify the size of the wooden balls. Are the 2 inches in diameter ? Thank u
Hi Pattie! I used 3″ diameter wood balls that I found at Hobby Lobby. The other supplies that I used can also be found in the supply list at the bottom of the post. I am loving how they turned out and want to make some more. Thanks so much for stopping by!
I have made one “flower” from a smooth, polystyrene ball and I used nails, not screws. I dip the nail’s pointed end in a glob of glue, then push it in to the ball. Also, screws and nails are expensive so I buy mine at the Habitat ReStore for $1.50 for approx. 200 nails.
Hi Mick! Yes screws and nails are very expensive. I haven’t thought of buying them from Habitat ReStore I will have to remember that. Thanks for stopping by and for the tip!
Would you please specify the size of the ballypu used .
I used 3″ wood balls. You can find all the supplies used in the supply list towards bottom of the post. Thanks for stopping by!
How many hole did you end up with?
Hi Dee! I’m sorry but i did not count the holes. But since i went through a little over two boxes it must of been just over 100.
I just made some of those out of polystyrene balls spray painted them looked lovely for 3 minutes then the balls melted and the nails fell out
Hi Ros! I’m sorry to hear that. I used wood balls and it’s been almost a year now and their still looking great. Thanks for stopping by!
Hi. Paint your balls with a mixture of glue ang water. Maybe 2 or 3 layers drying each time. Once dried, the paint wont melt it anymore…. Try it if it works for you…
Hi Mia! Thanks for the tip. I will have to try that.
Hey Linda,
This yard art idea is really beautiful and it looks like the corona virus. Ha-ha-ha…….
Hi SK! I haven’t looked at it that way, but you are right. It really does look like the corona virus. LOL
I use practice golf balls for this. They are a hard foam rubber. Easy to just push screws in. You can get an entire bag for minimum price.
Hi Sue! Thanks for the tip! I will have to get some golf balls and make some more. Love them!
I’ve also made these with golf balls but found some golf balls have a liquid center like glue. Sprayed all over my glasses luckily I had on. Just a precaution. Still love them in the garden. Thanks for listening. Loved this idea
Wow I did not know that! Thanks for the info.
I used a baseball. It worked well
Hi Charlotte! That’s a great idea! I will have to try making some more with a baseball. Thanks!
I used softballs but they are too top heavy to “plant” in the ground. Any ideas?
Hi Janae! I used wood balls, but I have seen them made using golf balls as well.
I loved these. Used golf balls and deck screws. Came out perfectly
Hi Christine! Someone else earlier mentioned using golf balls. I am going to have to give that I try. I can always use some more of these. I love them too!
How did you secure the rebar?
Hi Nanette! All I did was drill a hole large enough for the rebar and just slide it down on top. Their heavy enough that they stay inplace. You could squirt some wood glue into the hole before inserting the rebar.
I was wondering what a habitat restore is! Never heard of one around this area. Just checking! I’ve bought my wooden balls from Amazon. I’m looking forward to making the flowers.
Hi LouAdair! A habitat restore is a place where builders take their leftover supplies, or supplies that they no longer need to. And it is opened to the public with lower prices. They have them here in Texas around the DFW area, I don’t know if they are in other states.
Definitely doing this project! You explained how-to very well. Plus comments from others helped too. Can’t wait to make these. Do you keep them out year round? I’m in Michigan 4 seasons….just curious.
Hi Lynn! I’m glad that you enjoyed the post. Yes I do keep these up year round.