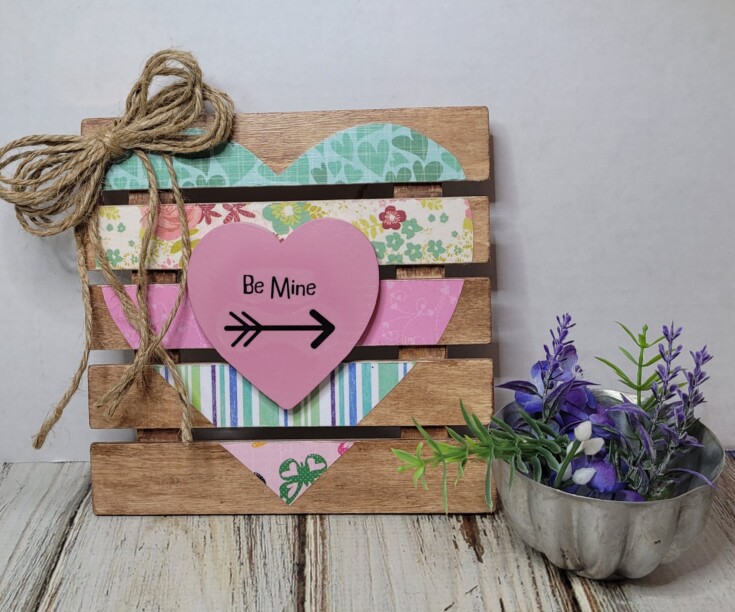
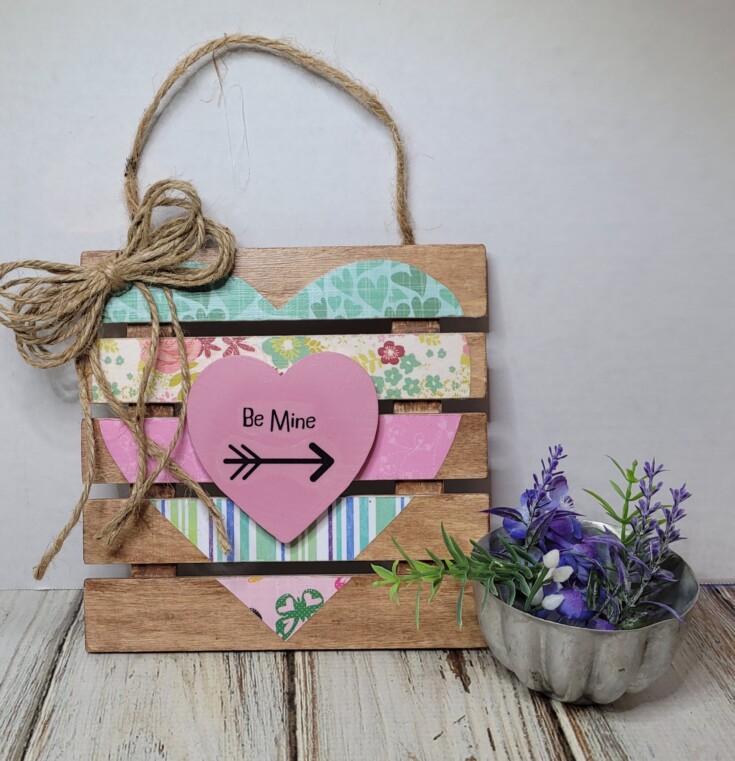
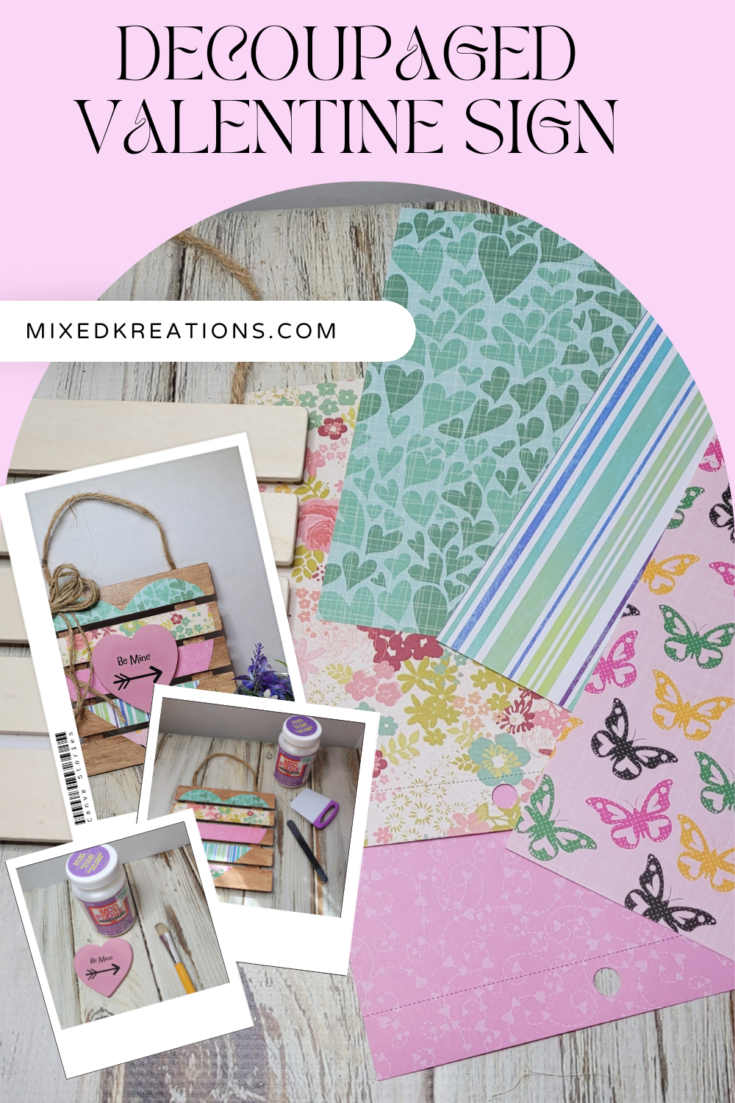
Hi all! So much for getting ahead on my posting. The hubby and I both came down with covid, and I didn’t feel like doing anything except resting and sleeping. After two week’s I am feeling pretty much back to normal, and I am ready to share my latest project. A decoupaged Valentine sign. This sign is made from a blank slatted Dollar Tree wood sign and scrapbook paper. Each slat has a different color pattern of scrapbook paper decoupaged on it.
***This post contains affiliate links… We are a participant in the Amazon Services LLC Associates Program, and affiliate advertising program designed to provide a means for us to earn fees by linking to Amazon.com and affiliated sites at no extra charge to you. Please read my full advertising disclosure for more info. Thanks so much for your support!***
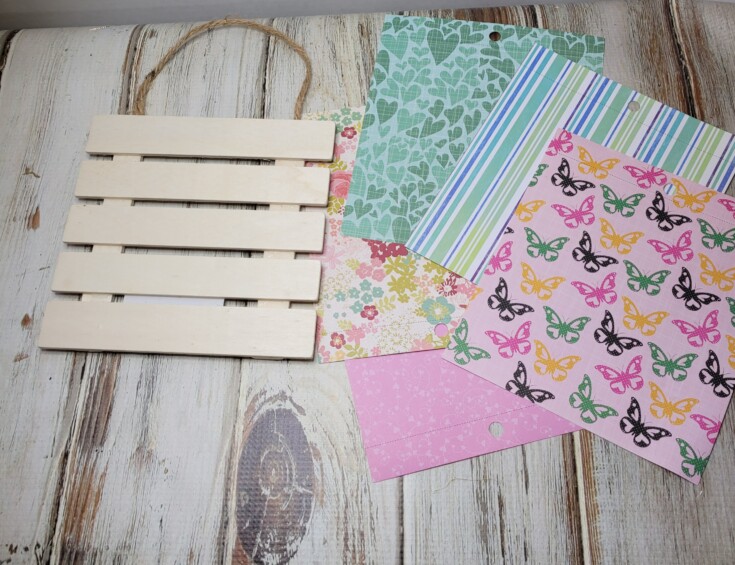
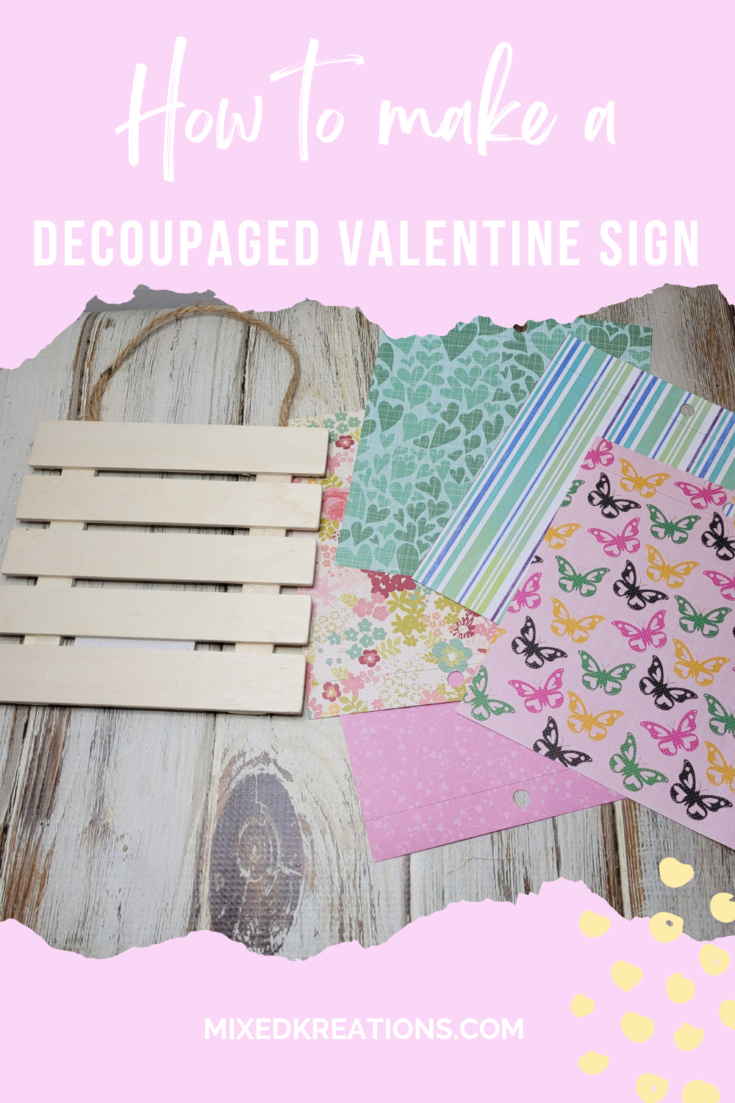
Decoupaged Valentine Sign Supplies
Blank slatted wood sign
5 different strips of scrapbook paper
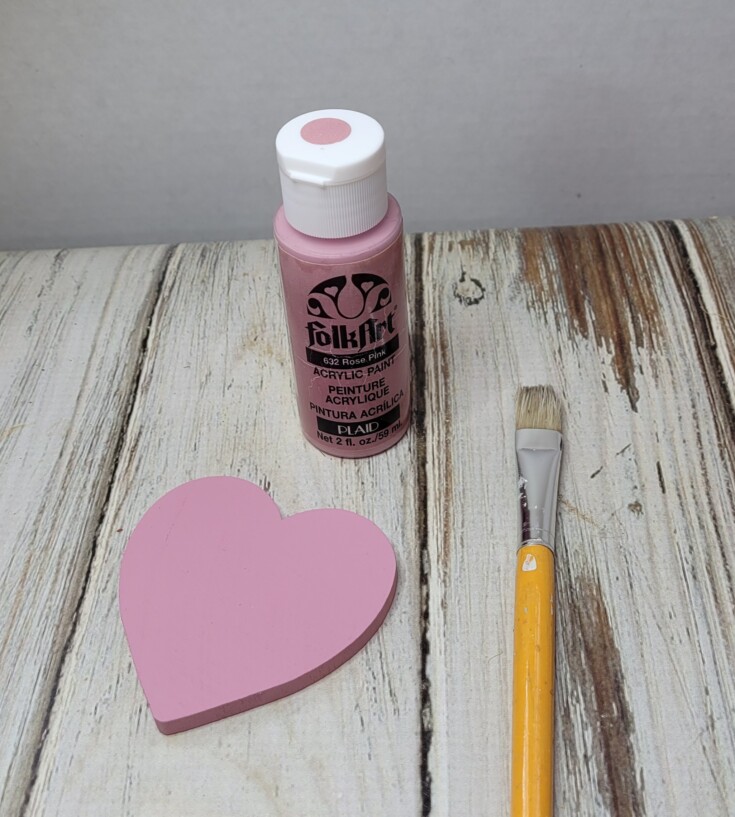
1 large wood heart
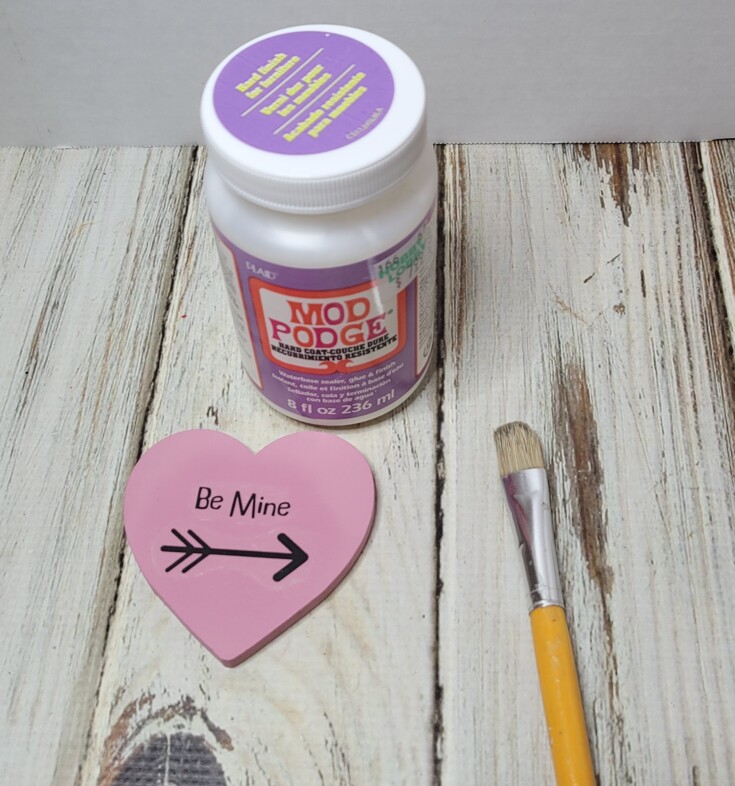
Mod Podge
Mauve acrylic paint
Brown acrylic paint
Wood glue
Paint brush
Scissors
Twine
Hot glue
Craft sander
Reversed transfer
Decoupaged Valentine Sign
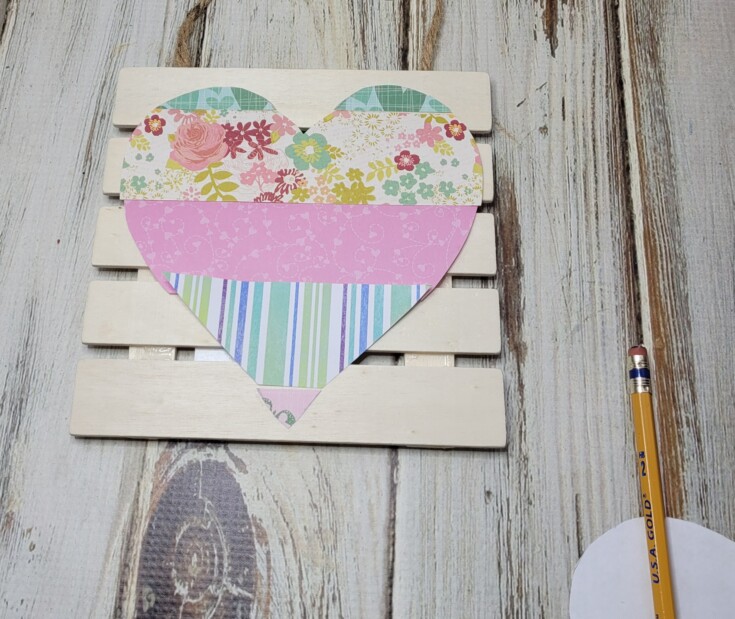
Start by making a heart stencil that fits across all five slats of the decoupaged Valentine sign. Then trace it off on the strips of scrapbook paper, and cut the strips out.
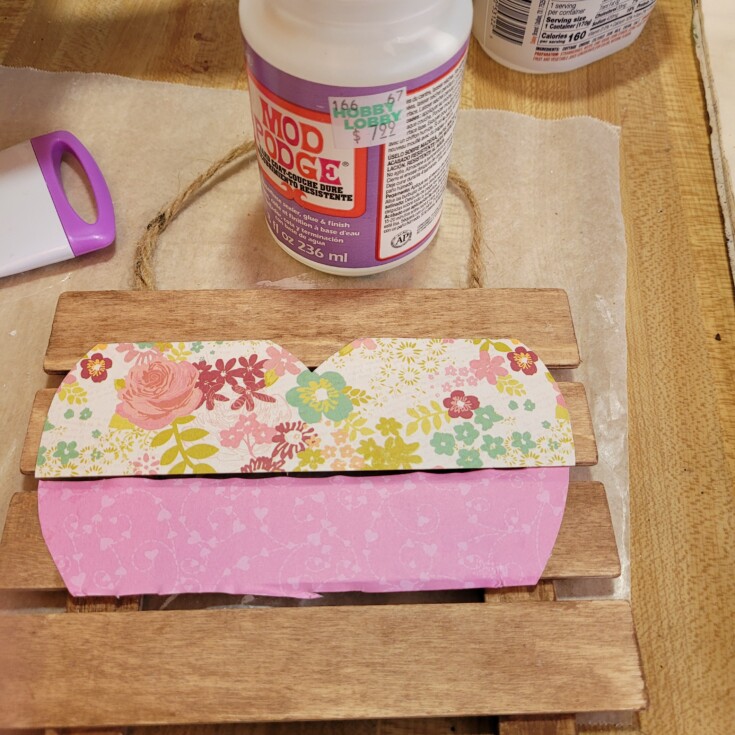
Before adding the scrapbook paper to the slats use watered down brown paint to stain the slatted wood sign. Wipe off any excess paint. Let dry
Now add Mod Podge to each slat and position the paper in place to form the heart.
Once all pieces are in place let dry thoroughly. Then go back with a craft sander and sand all the excess over hang of paper off.
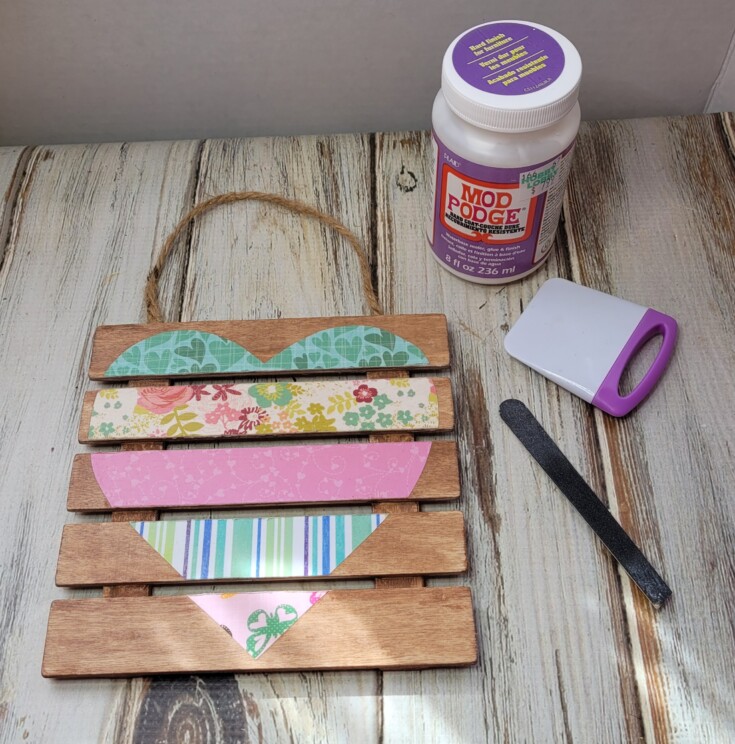
Add a coat of Mod Podge to seal and protect.
Give the large wood heart two coats of mauve paint, front and sides.
Do a reverse print out for the heart. You could stencil your wording or even use a paint marker instead. But I’ve been hooked on the reverse images lately.
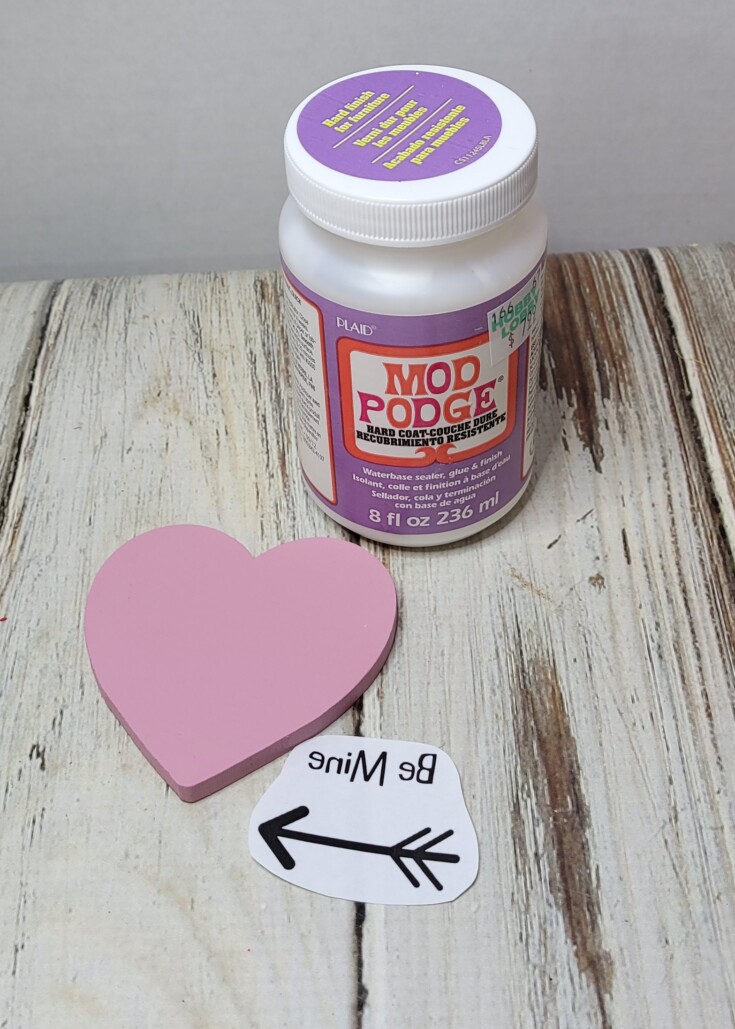
I then cut out my images and positioned them on the large heart using a light coat of Mod Podge.
Once dry I wet the back of the paper and rubbed the paper off leaving the transferred image “Be Mine”.
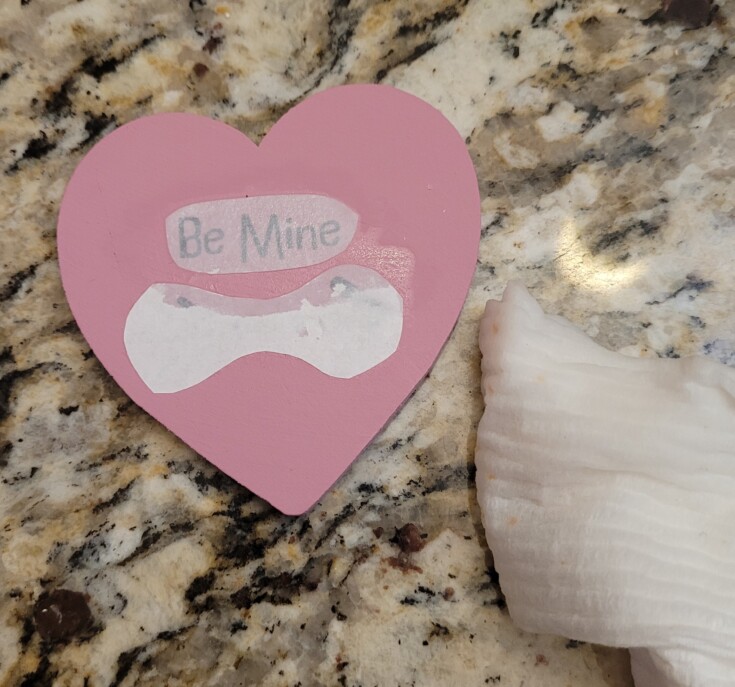
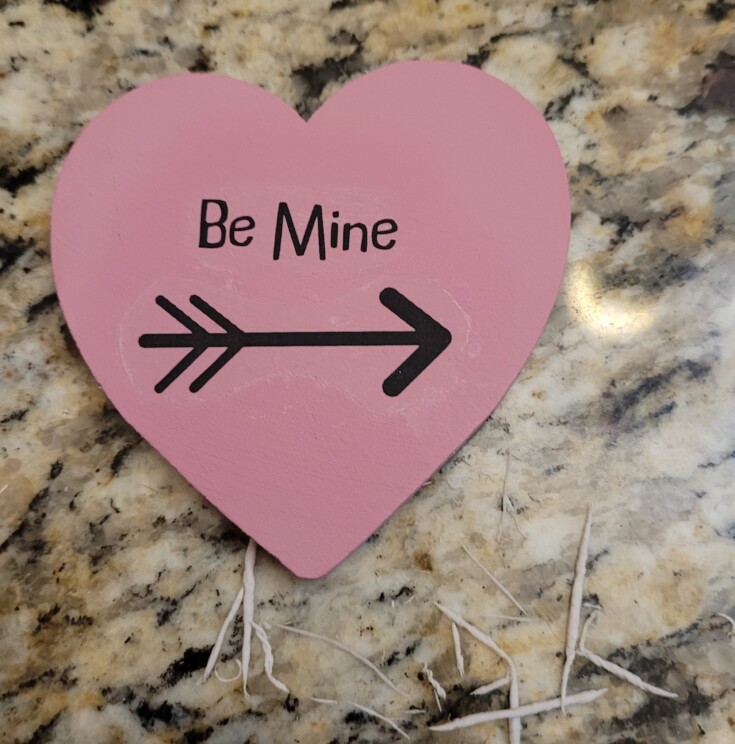
Then I gave the heart a coat of Mod Podge.
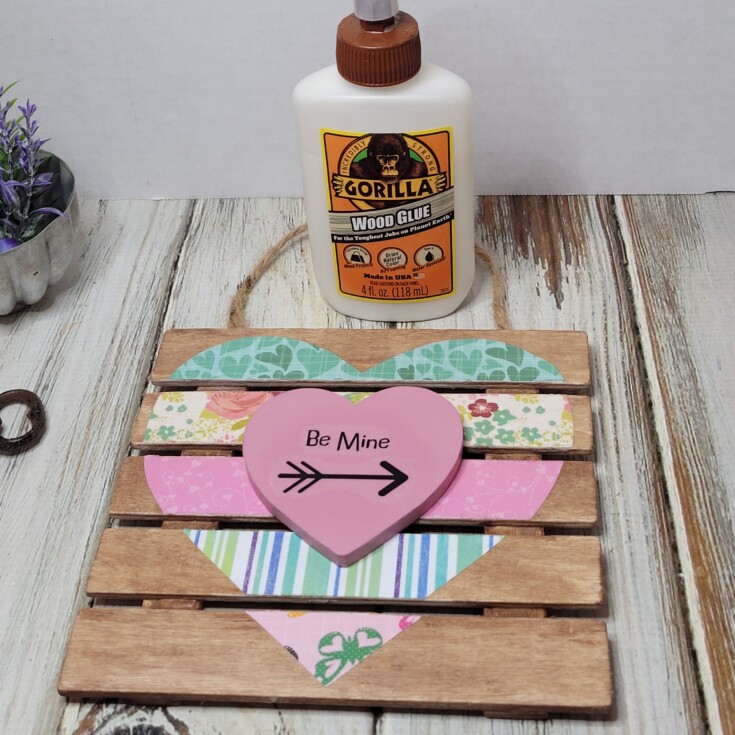
Glue the large heart down onto the decoupaged Valentine sign with wood glue.
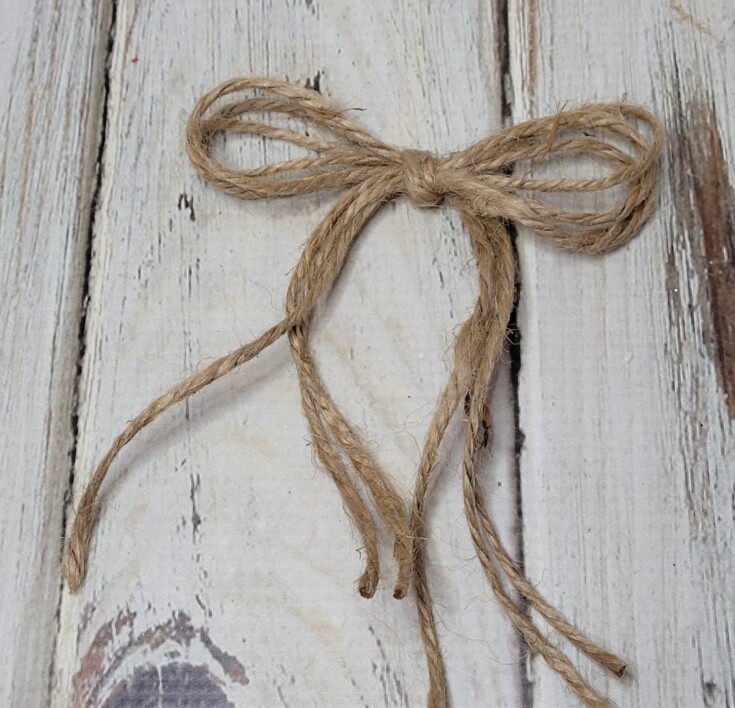
I used several pieces of twine to make a bow, then hot glued it on the left side of the sign.
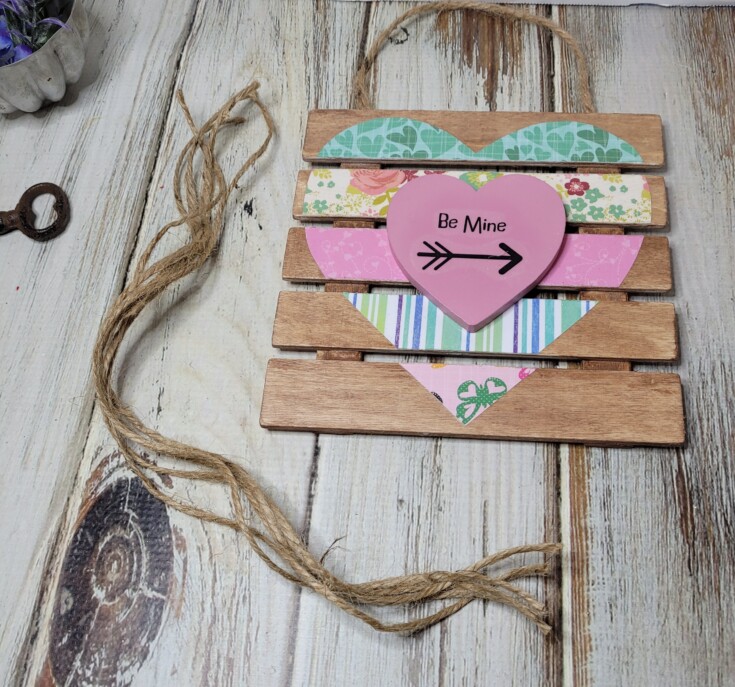
That’s it for this decoupaged Valentine sign. It can now be hung on the wall or placed on a mantle or shelf with other Valentine décor.
More Fun Dollar Tree Projects!
Dollar Tree container makeover
Dollar Tree Jack-o-lantern
Dollar Tree pumpkin jar
3 ways to upcycle Dollar Store pumpkins

Ouch, sorry to hear that you both had COVID. We all assume it’s over but so many of my friends have come down with it this last month. Hope you’re fully recovered and back on track with your crafting schedule. I do so enjoy seeing what you’ve been up to.
Thanks Michelle! It took me two weeks to get over it and the hubby a little long but both doing pretty good now. Thanks!
I am glad to be back crafting. 😉