Hi All! I hope you all are staying well during these rough times, and pray this pandemic ends soon. But in the meantime, like everyone else we are getting quite a bit done around the house due to the shelter at home. We still have to go to work but I wear my mask and gloves and practice social distancing when around others. This past weekend I managed to get some veggie plants planted, mulched and pulled some weeds. Now it’s time to get back to crafting. Today’s project is the second part of the reversible holiday décor fan blade. This side of the fan blade will be an Easter holiday décor sign. Part one was of this upcycled fan blade was a Saint Patrick’s Day sign. So, you will be getting two-holiday décor signs out of one fan blade by just flipping the blade over. Let’s get started!
***This post contains affiliate links… We are a participant in the Amazon Services LLC Associates Program, and affiliate advertising program designed to provide a means for us to earn fees by linking to Amazon.com and affiliated sites at no extra charge to you. Please read my full advertising disclosure for more info. Thanks so much for your support!***
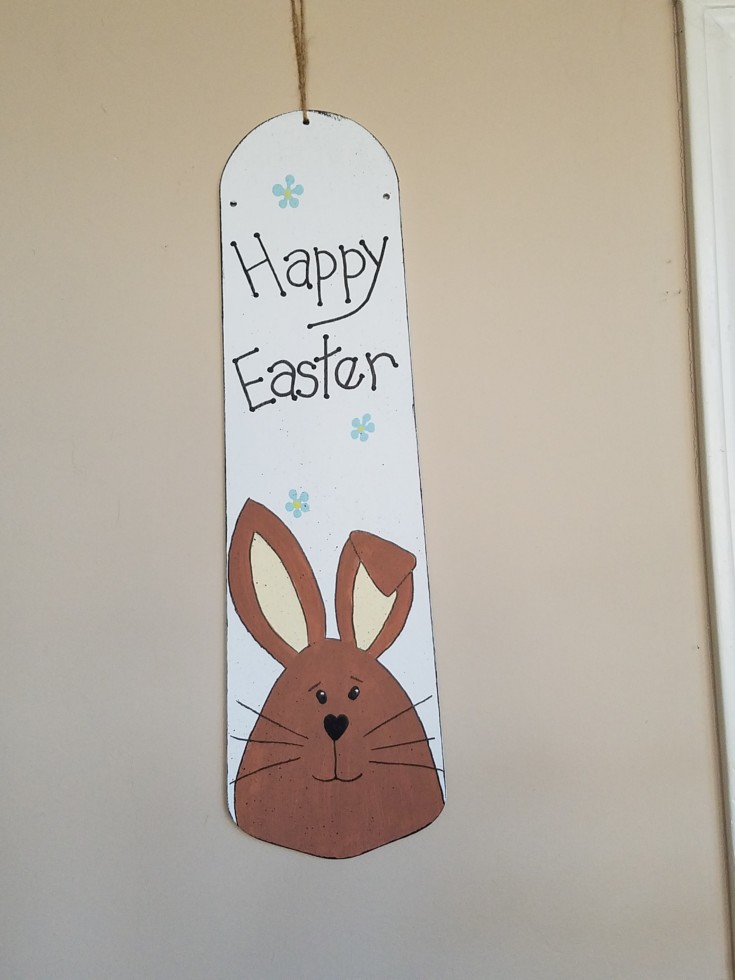
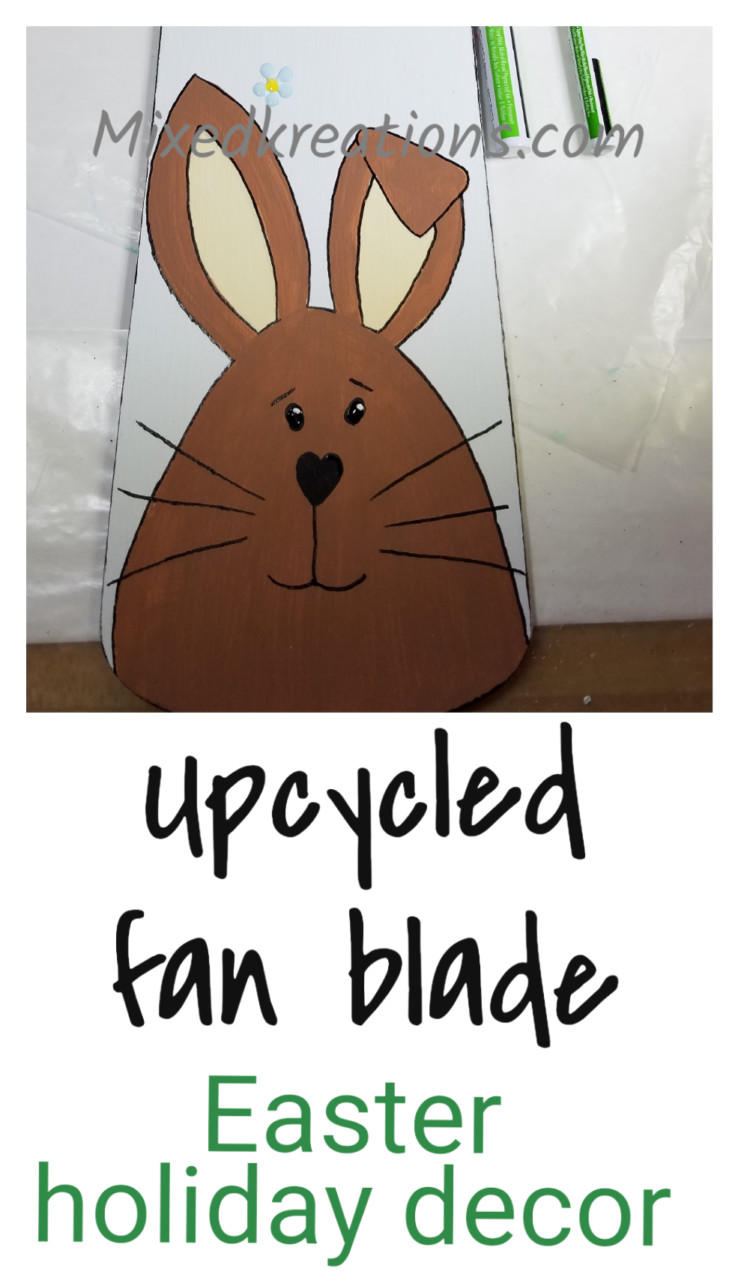
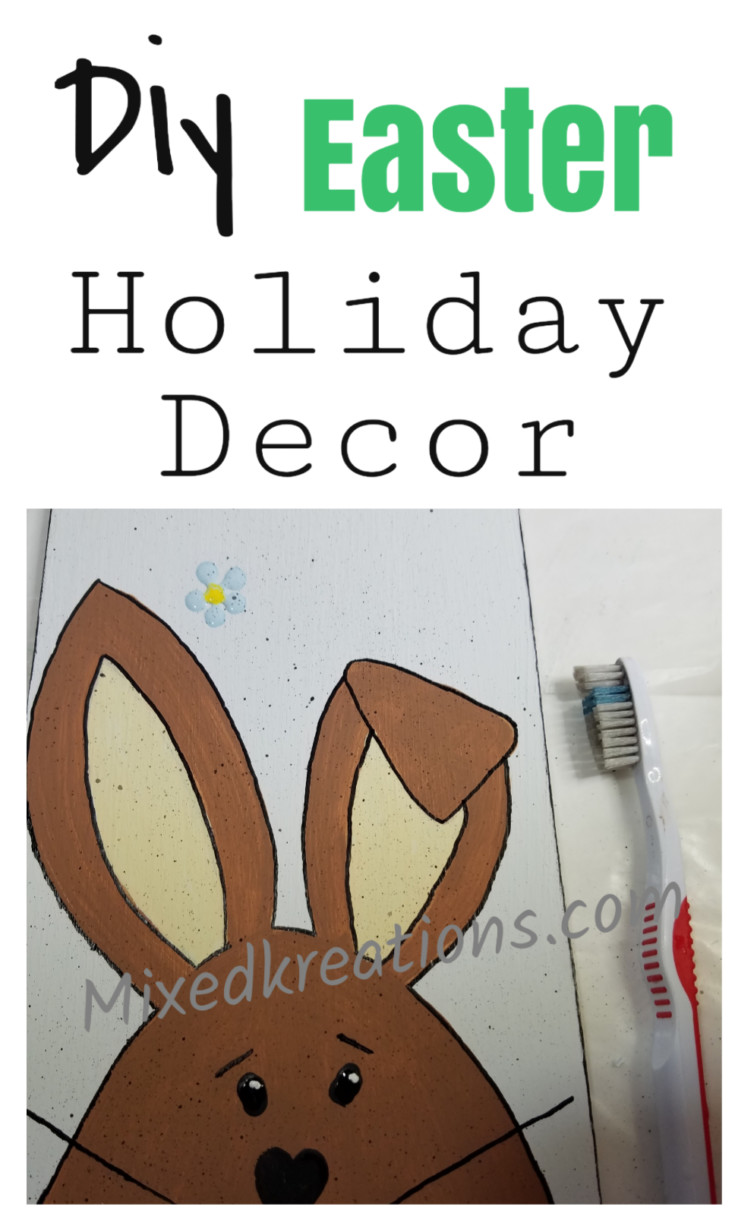
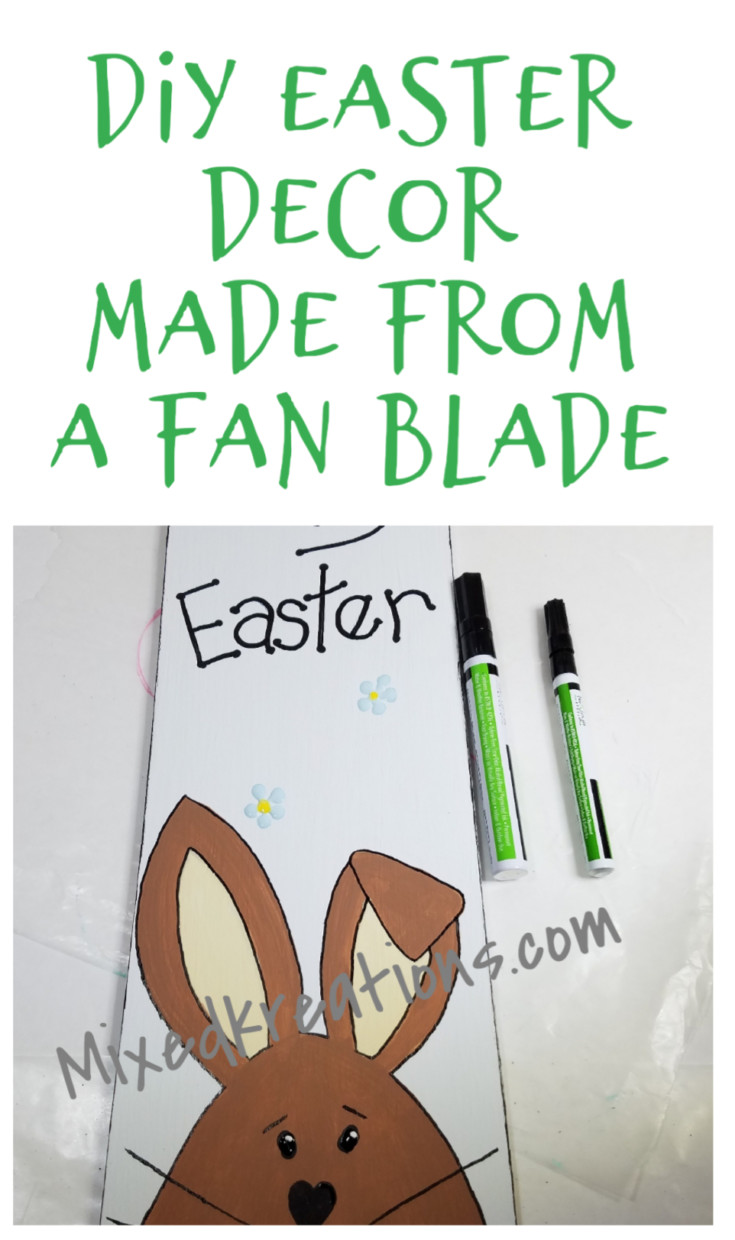
DIY Easter Holiday Décor
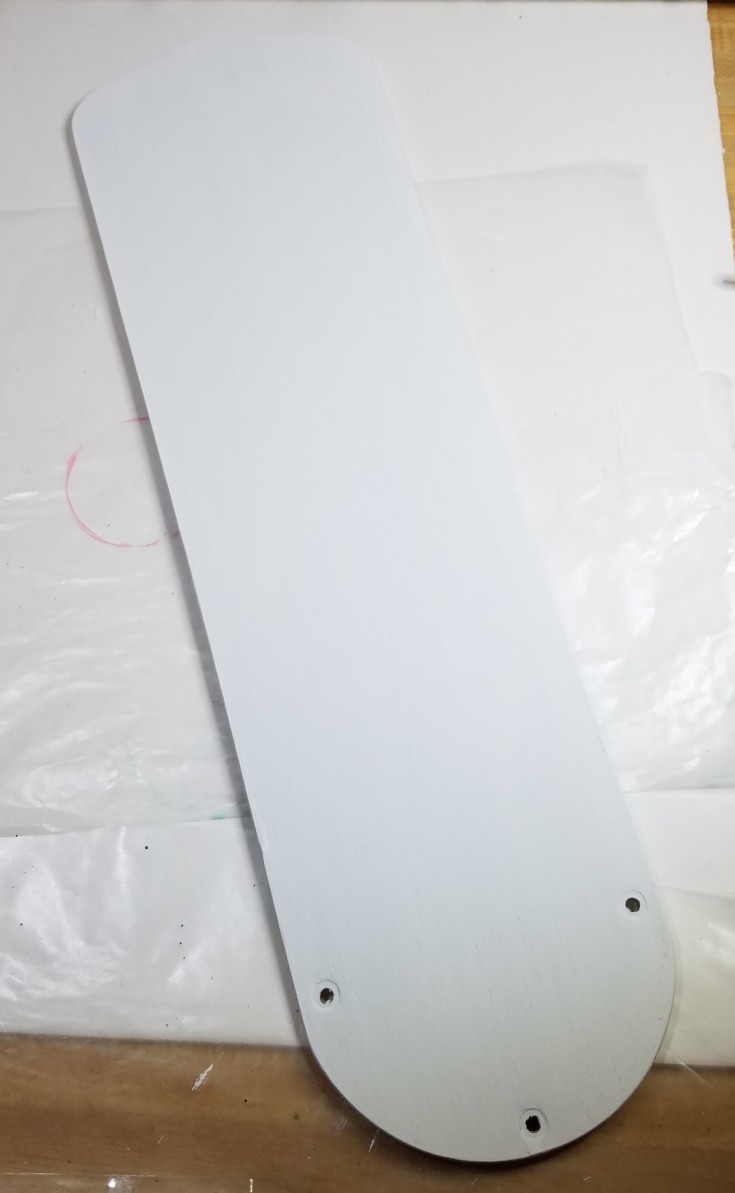
Start off by painting the blank side of the fan blade with white chalk paint.
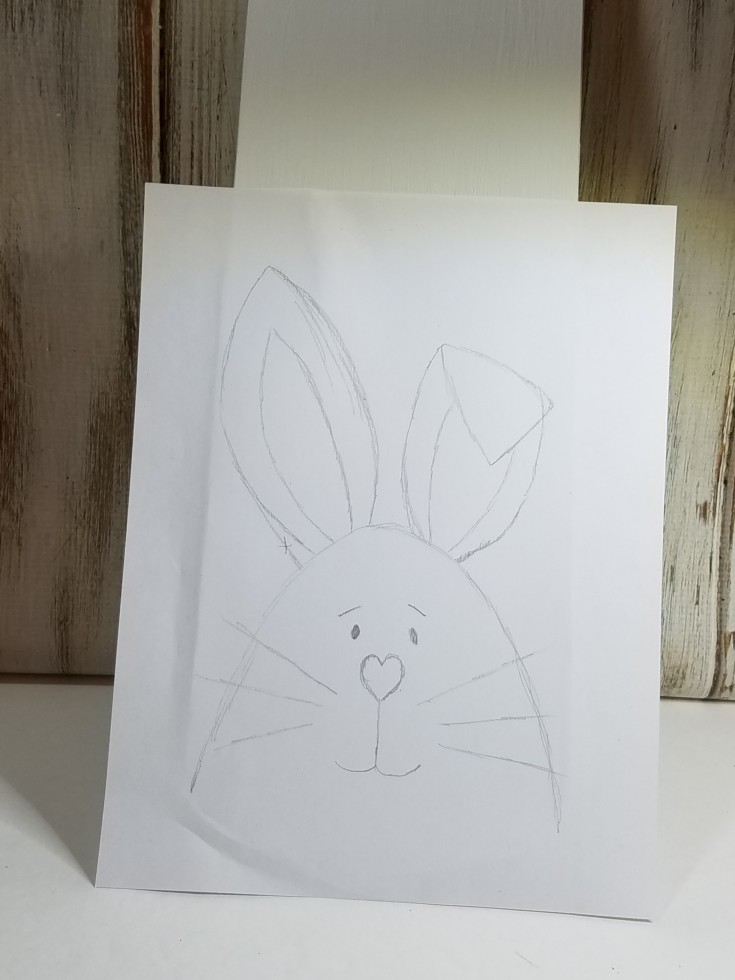
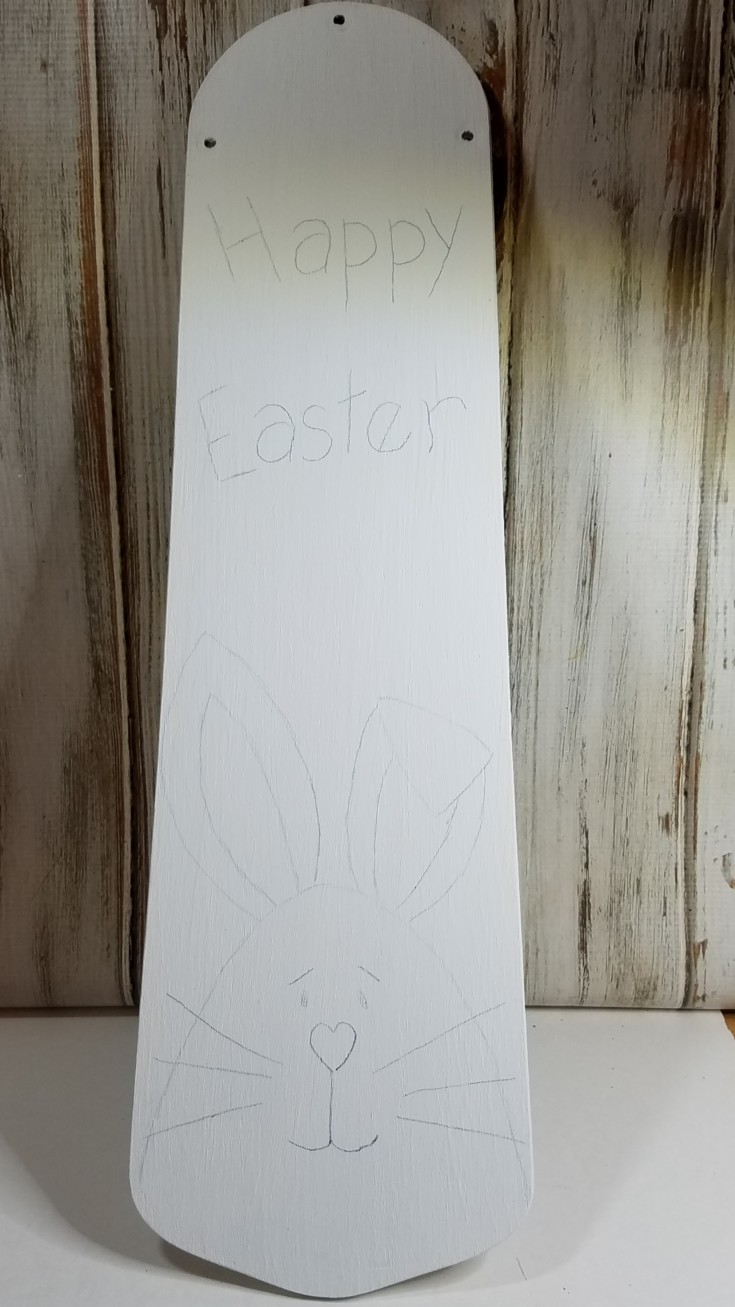
Next sketch a cute little rabbit on a piece of paper. Then transfer it on the bottom of the wooden fan blade using carbon paper.
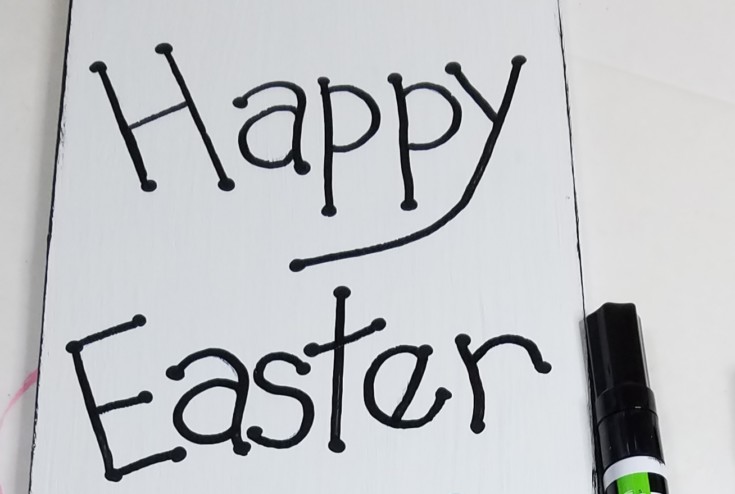
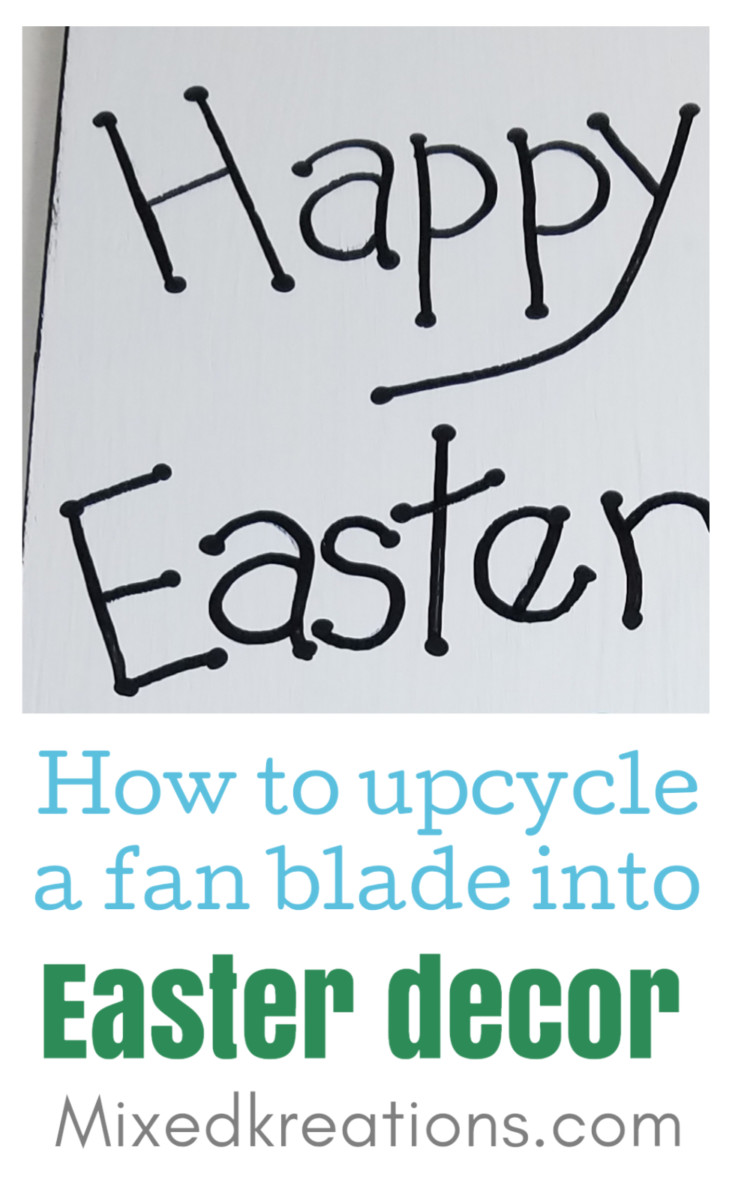
Add Happy Easter at the top using a pencil or transfer using carbon paper as well. Or you could stencil it on if you have a stencil. All my letter stencils were too large.
Now go back and paint in the bunny using light brown acrylic paint, two coats.
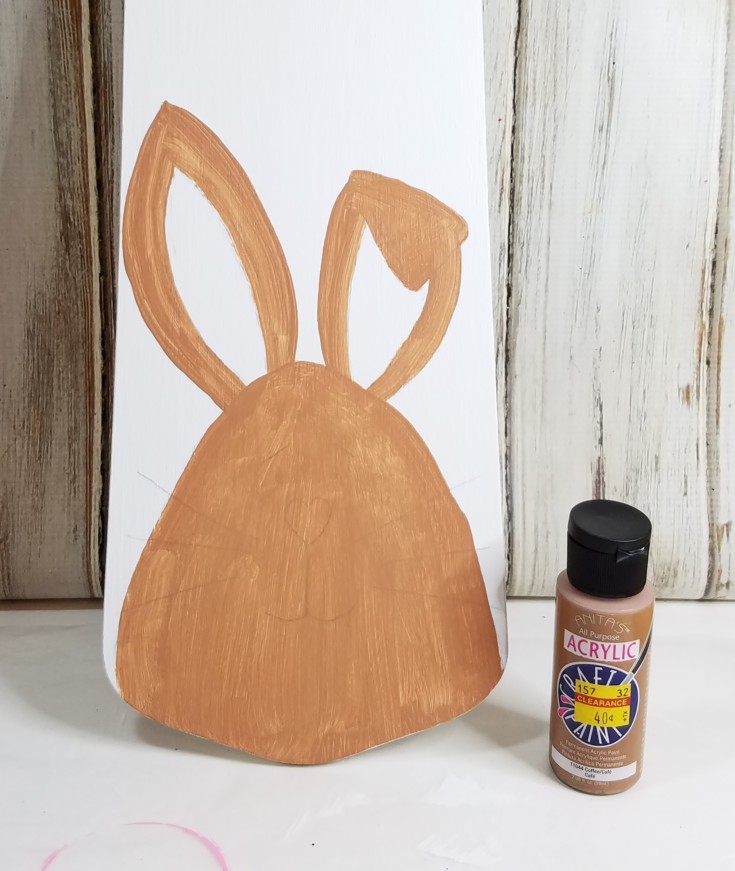
Paint the center of the ears with antique white. Two coats as well.
Use a paint marker over your Happy Easter letters. The dots were made using a stylus. Outline the bunny using the paint marker.
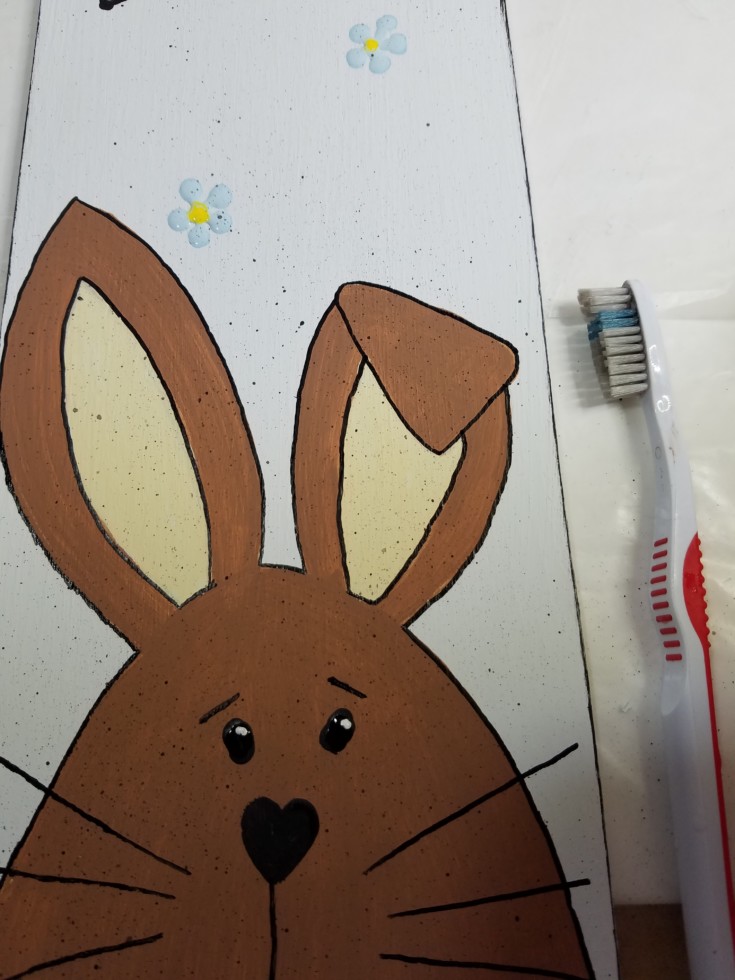
Add the eyes and nose with black paint, the whiskers and mouth with the paint marker.
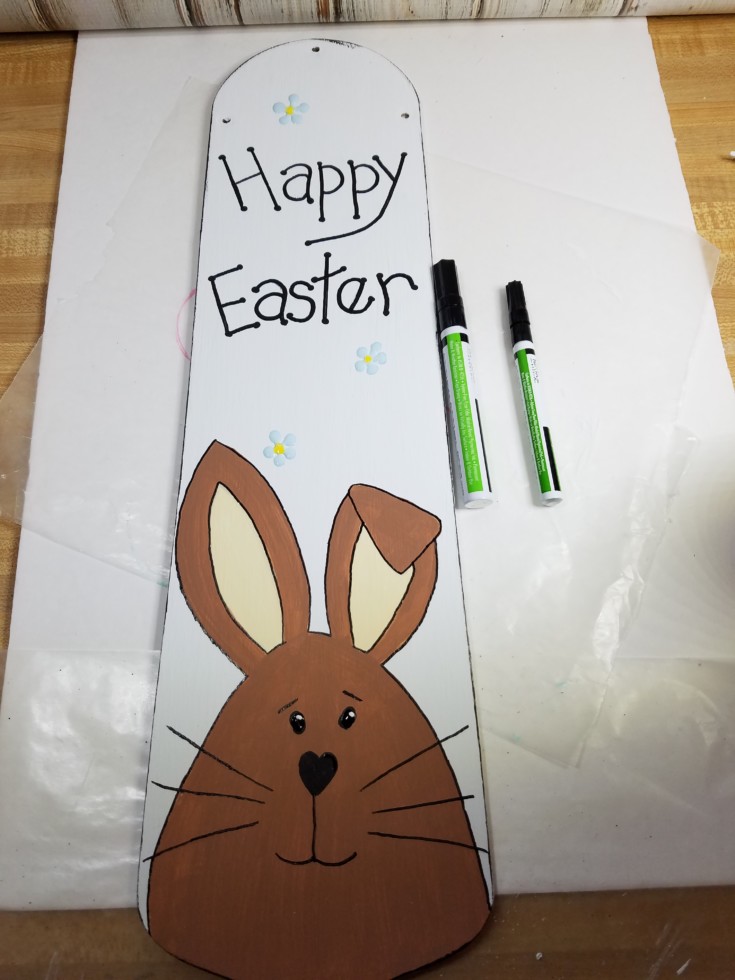
The flowers were made using light blue paint and a ball stylus. First, add five dots then drag them towards the center to form the flowers.

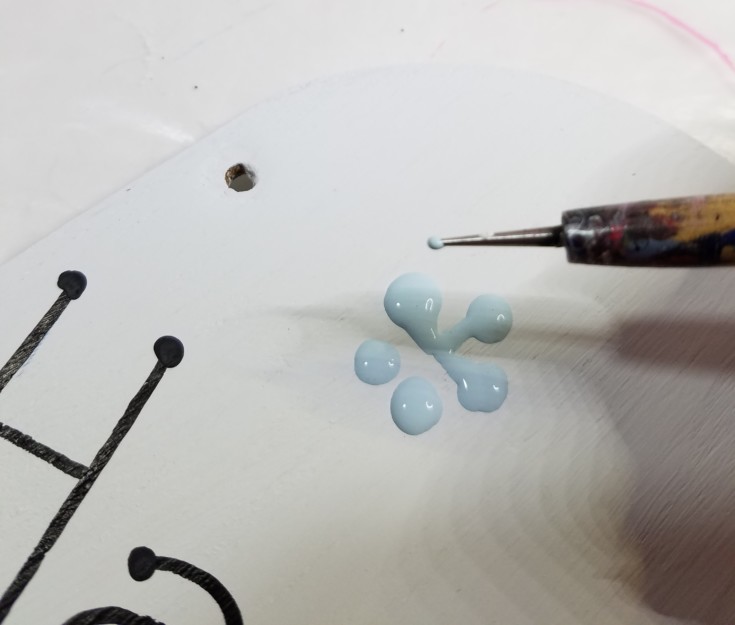
Once dry and a yellow center to each flower and a white speck to both eyes with the stylus.
Use the side of a paintbrush to dry brush some black paint along the edges at the blade.
Lastly, I used a toothbrush to splatter some black over the whole Easter holiday décor sign and added a piece of twine to hang the sign by.
That’s it for this easy upcycled part tow Easter holiday décor sign. Have you upcycled any fan blades lately?
Supplies for Easter Holiday Décor
Wooden fan blade
White chalk paint
Ball Stylus
Paintbrushes
Old toothbrush
Acrylic paint black, blue, yellow, antique white
Carbon paper
Black Paint marker
Twine
More Fun Upcycles!
DIY patriotic sign
Repurposed Halloween decor and welcome sign
Reversible holiday decor
Happy Easter my friend, no one knows what kind of Easter it will be but we will all try to stay safe and calm.
Thank you Mary! Hope you and your family are staying safe and well.
Your little bunny has such a quizzical face Linda and those eyes look like they’re trying to keep a big secret 😀 Perhaps he’s hidden the Easter eggs in a very special place this year. AS always I love your painted critters. You always manage to impart them with so much character and personality
Michelle Leslie recently posted…DIY Cabinet Makeover with Chinoiserie Vinyl Tiles
Thank you Michelle! The little bunny was fun to paint!
This turns out to be awesome, thanks for sharing 🙂
Thank you Jill! I am glad you enjoyed it!
That is so cute! What a great idea!
Holly recently posted…How to Do a Hive Inspection + Free Printable Hive Inspection Sheets
Thank you Holly! I’m glad you enjoyed the post!
I like all the ideas that can’t wait to go back through the blog post and get the full instructions on everything off so cute. Thank you for sharing!
Thanks for stopping by!
HI, this article shows different ideas of painting for Easter Holiday Décor. i am very happy to see such a nice ideas in your post.
i also learn instructions to made these ideas in a good way.
Thanks a lot for sharing such a beautiful information. i will also try to do.
Hi Harry! Thanks for stopping by!
Such a lovely post it is. Really captivating. Thanks for sharing
Thank you George!