Mixed Kreations

The Creative Life & Journey Of A DIY'ER

  • Home
  • Diy Projects
    • Handmade Cross Projects
    • Holiday & Seasonal Projects
    • Mason Jars
    • Fun Upcyled Shutters & Spindles
    • Texas Projects
    • Upcycled Cans
    • Wood Projects
    • Jewelry Tutorials
  • Quick and Easy Recipes
  • Shop Mixed Kreations
    • Etsy Shop
    • Mixed Kreations Amazon Influencer
  • DISCLOSURES STATEMENT & PRIVACY POLICY
  • About Me
  • Recommendations
You are here: Home / DIY/Craft Projects / repurposed/upcycled / Fly by the Seat Junk Parts Vase

Fly by the Seat Junk Parts Vase

February 18, 2020 By: Linda @ Mixed Kreations8 Comments

If you enjoyed this post, don't forget to pin it for later!

23 shares
  • Share
  • Tweet

Hi All! Are you getting excited because spring is near? I know I am ready to start planting my garden, with hopes of a better year. But until then let’s get started on this junk parts vase. This is one of those fly by the seat of your pants projects. Started out not really sure what I was going to make. I just wanted to use some of my junk parts and the plan was to make something small like a vase or candleholder for the inside of the hubby’s wood crate side table.

How to make a junk parts vase

***This post contains affiliate links… We are a participant in the Amazon Services LLC Associates Program, and affiliate advertising program designed to provide a means for us to earn fees by linking to Amazon.com and affiliated sites at no extra charge to you. Please read my full advertising disclosure for more info. Thanks so much for your support!***
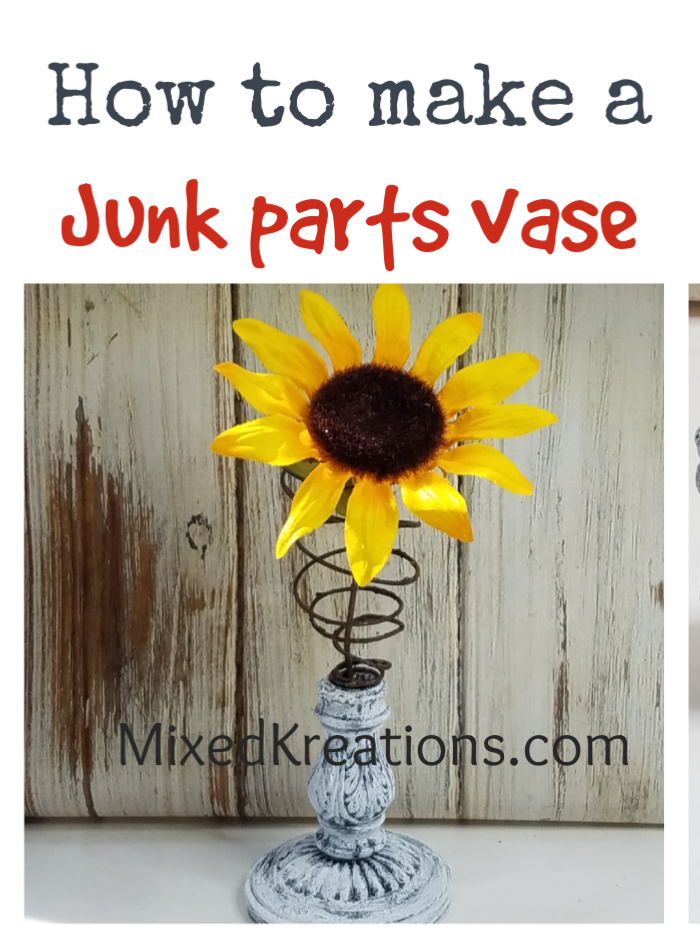
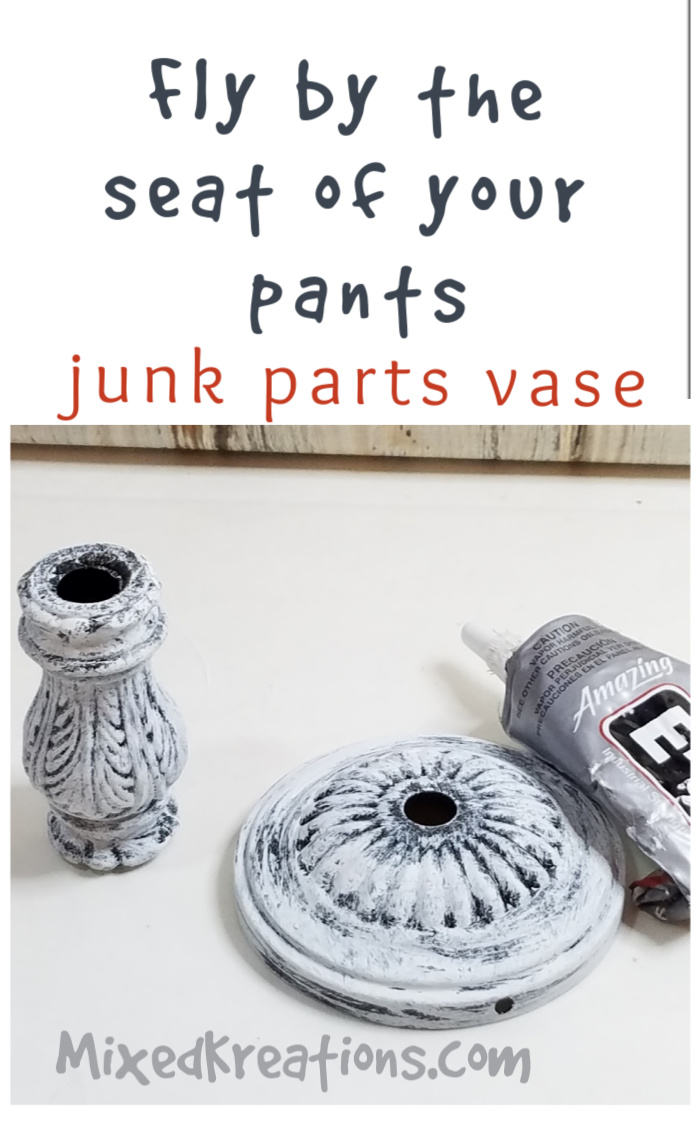
Junk Parts Vase

I started out with a couple of light fixture parts and a small tin that I had picked up on one of our junkin trips.

Fly by the Seat Junk Parts Vase

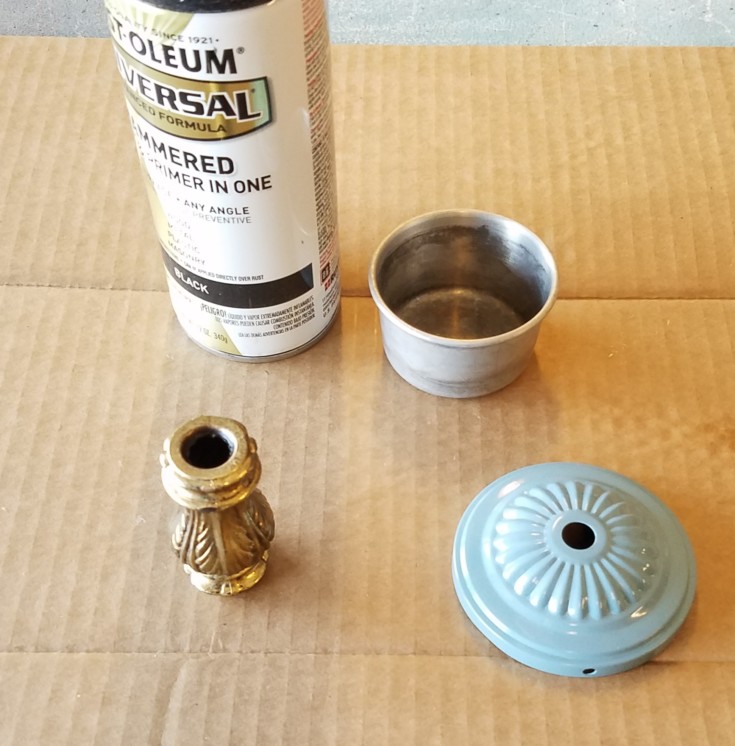
First, I cleaned them in hot soapy water then sprayed painted them with some black Rust-o-leum paint.

How to make a junk parts vase

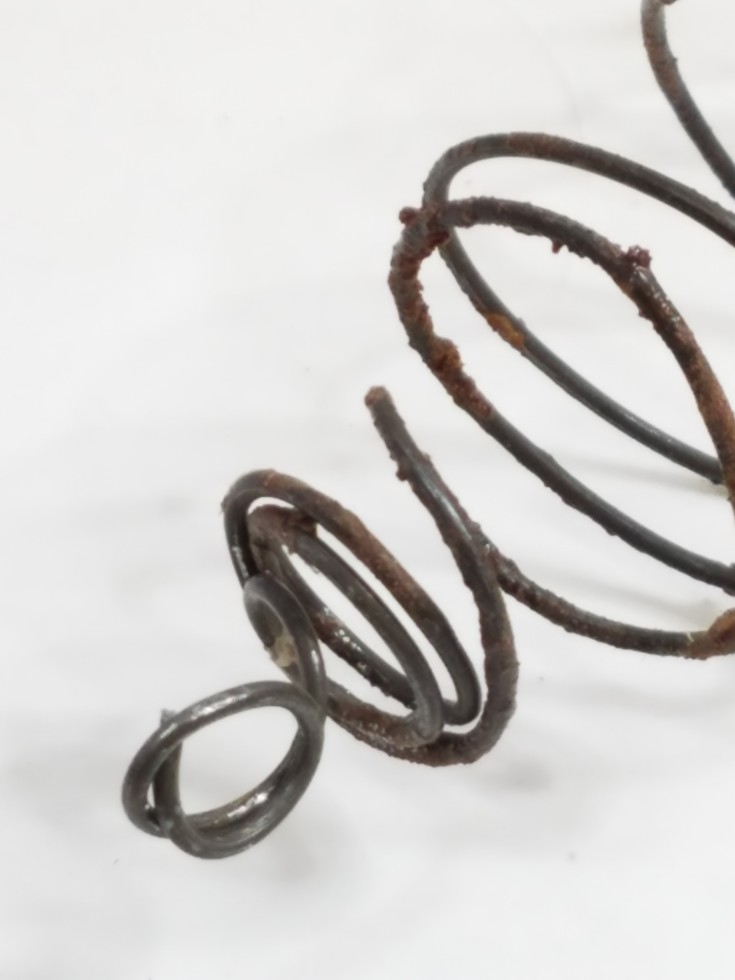
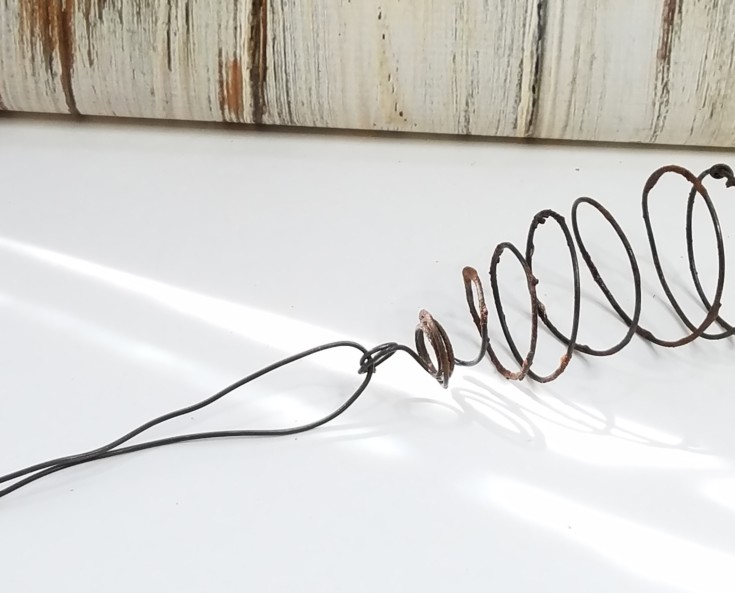
Once painted I discarded the small tin for a rusty faux bedspring that I had made a while back.

How to make a junk parts vase

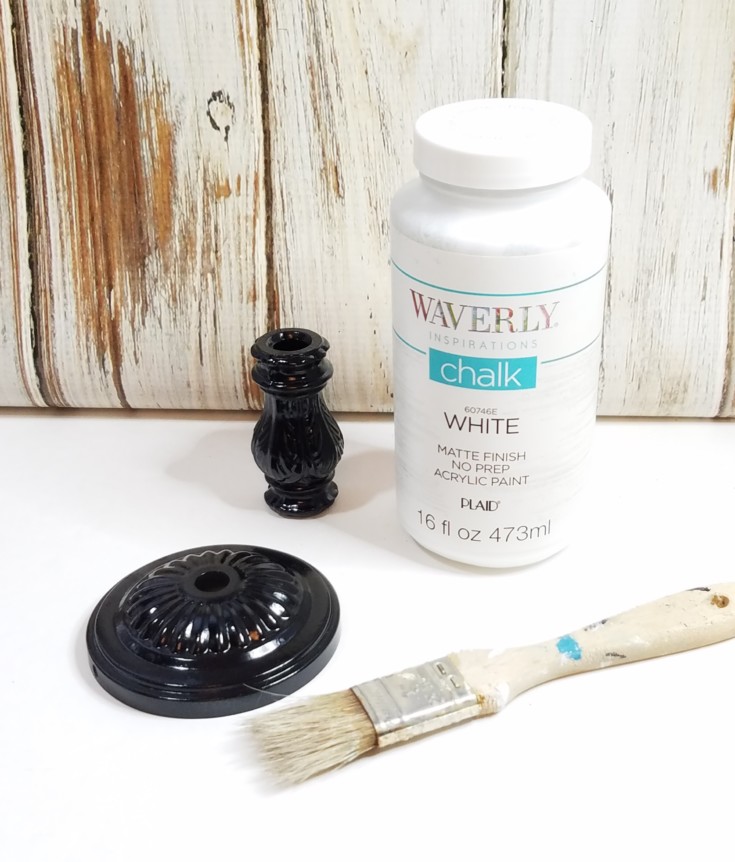
Next, I dry brushed some white chalk paint onto the two junk parts, leaving some of the black showing through.

Fly by the Seat Junk Parts Vase

Then I glued the two pieces together using E-6000 adhesive.

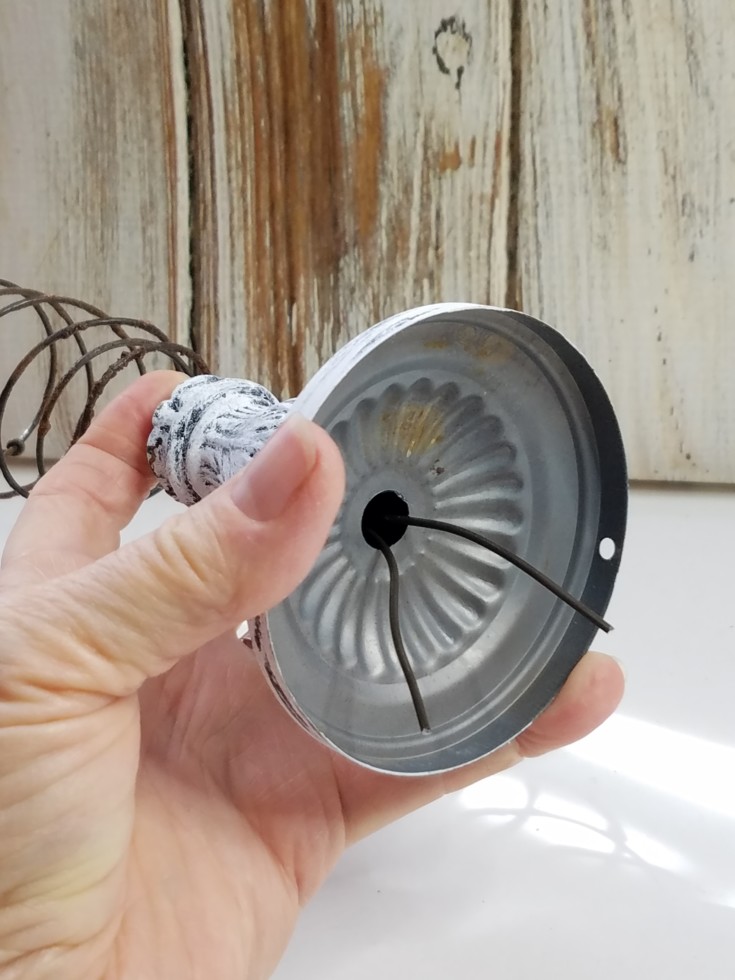
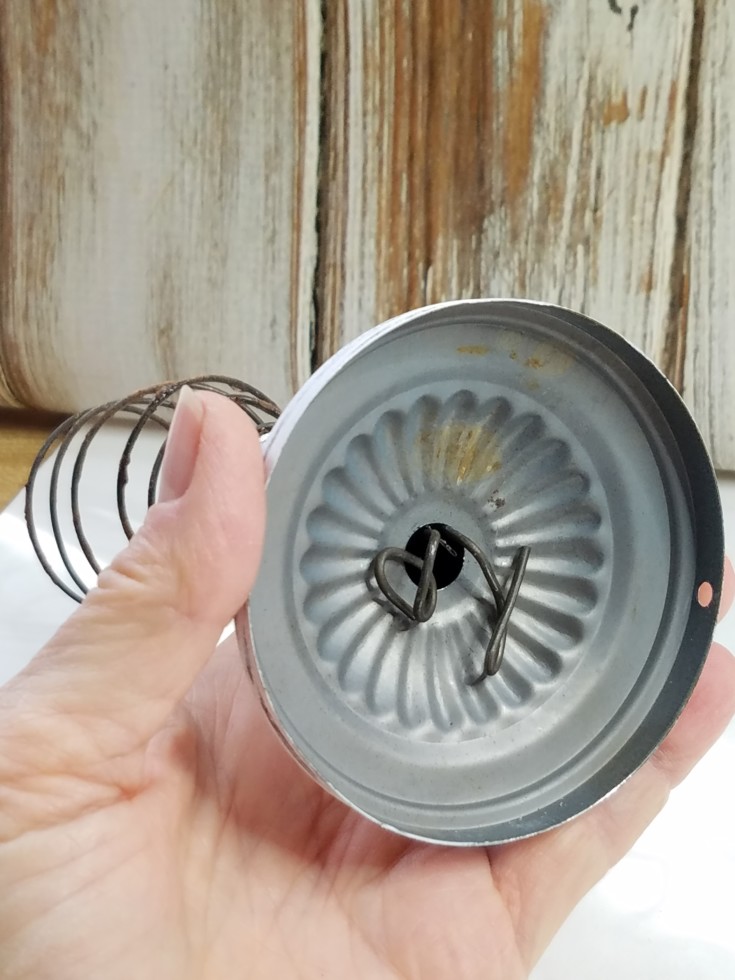
Afterward, I ran a piece of annealed wire through the bottom loop of the faux bedspring. Then threaded the wire through the two pieces, and twisted the wire to tighten the spring and pull the end down into the hole to secure it.

Fly by the Seat Junk Parts Vase

How to make a junk parts vase

Fly by the seat of your pants vase made from a bedspring and junk parts.
Powered By the Tweet This Plugin
Tweet This

Fly by the Seat Junk Parts Vase

How to make a junk parts vase

How to make a junk parts vase

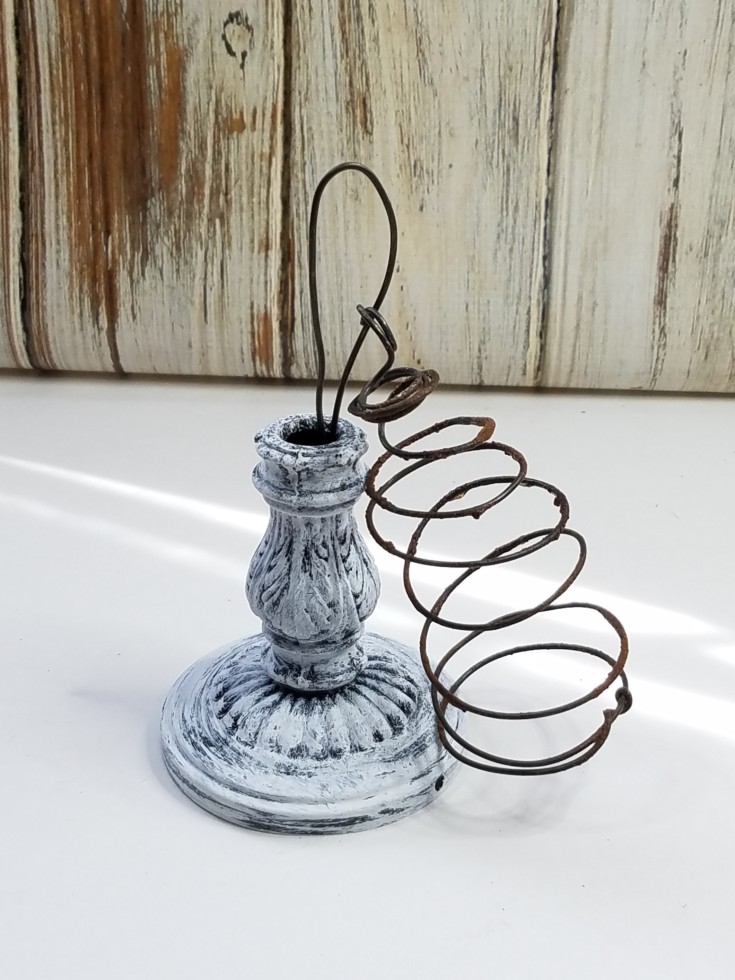
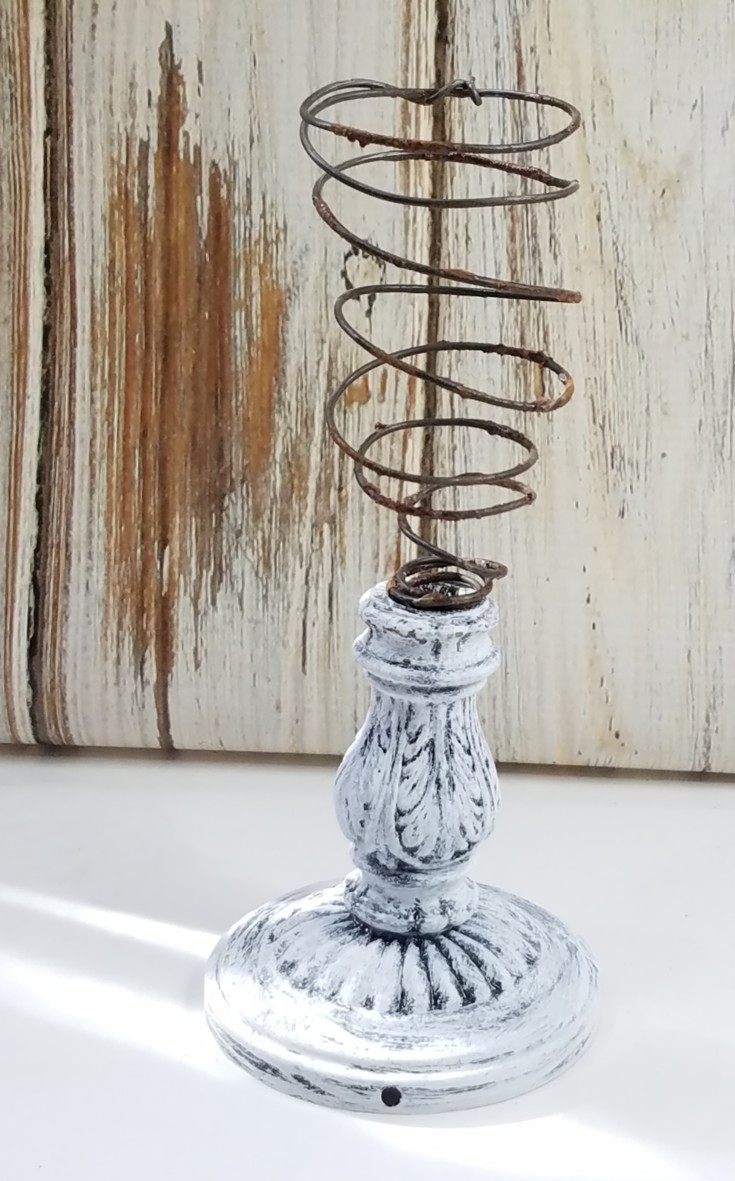
Making the wire spring stand up straight.

Fly by the Seat Junk Parts Vase

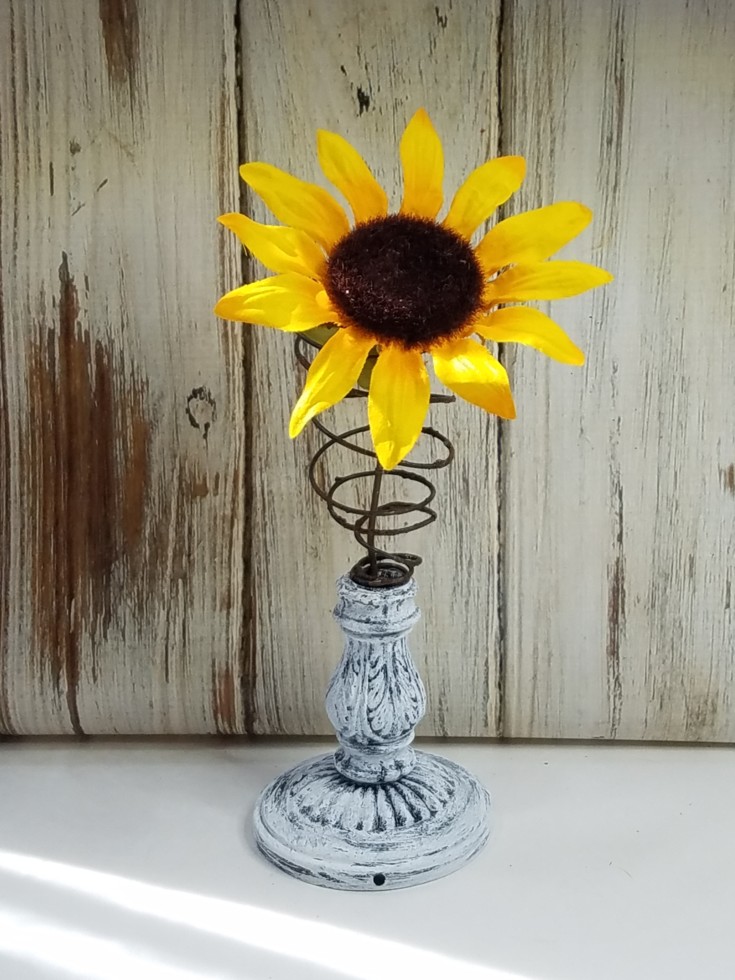
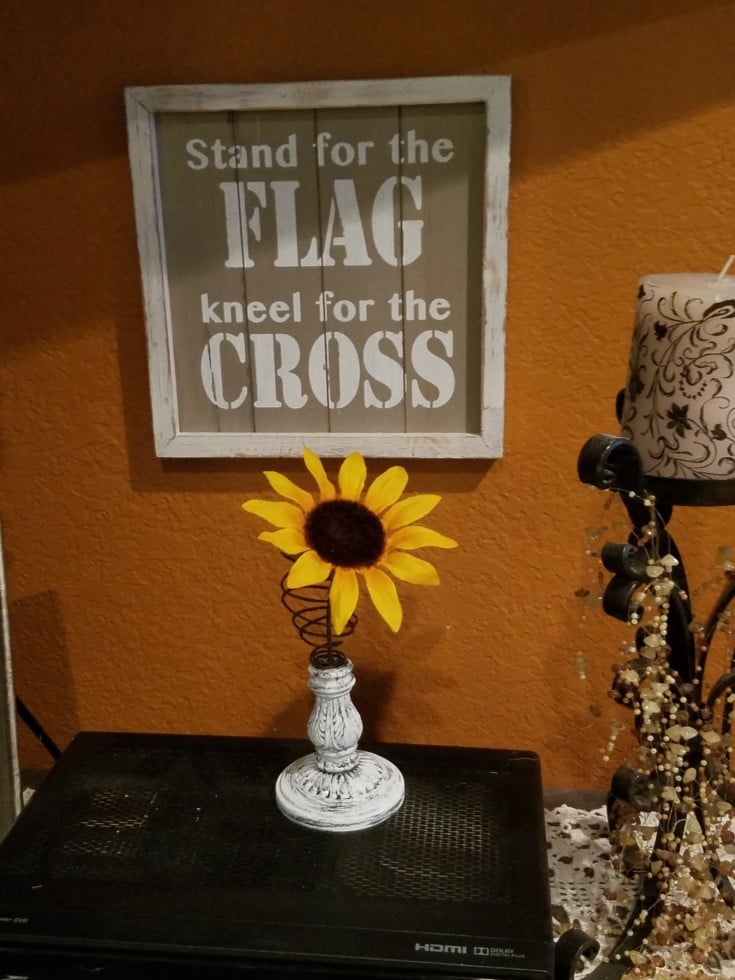
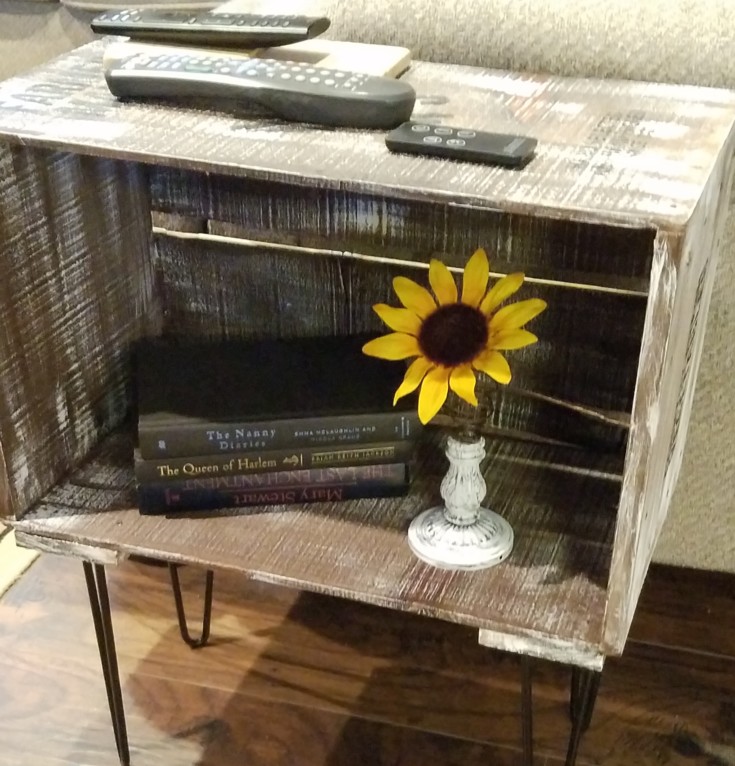
Popped a sunflower in my new junk parts vase and that’s it. The flower can be switched out easily, and the vase stands out in the wood crate side table next to some old books that I picked up and will soon be getting a makeover. What do you think of my fly by the seat junk parts vase?

How to make a junk parts vase

More Fun Junkin Projects!

Repurposed light parts angel
Repurposed yard sale lamp yard art
Repurposed spindle angels

Diy junk parts vases

How to make a junk parts vase out of a faux bedspring and light fixture parts
Image
Image

If you enjoyed this post, don't forget to pin it for later!

23 shares
  • Share
  • Tweet

If you enjoyed this post, would you mind taking the time to:
  • Share, or Pin for later reference.
  • Follow me on Facebook, Twitter, Pinterest
  • Leave a comment
Thank you so much for taking the time to comment. I love hearing from my readers, and appreciate the kind words.

Comments

  1. Anita holland says

    February 23, 2020 at 8:20 pm

    Thia is just so creative, well done.

    Reply
    • Linda @ Mixed Kreations says

      March 2, 2020 at 9:57 am

      Thanks Anita! I am happy everything came together like they were meant to be. 🙂

      Reply
  2. Michelle Leslie says

    February 26, 2020 at 1:00 am

    Now this is why I love your blog so much Linda. Your junk vase is so unique and creative. The scrap bits you used just work so well together. Never in a million years would I have thought “Mmmmmmm, let me grab a few light fixtures and a rusty spring to make a vase” 😀 Great idea
    Michelle Leslie recently posted…Adorable DIY Dog Leash Holder and Free PrintableMy Profile

    Reply
    • Linda @ Mixed Kreations says

      March 2, 2020 at 9:51 am

      Thanks Michelle! Sometimes I got lucky with this one. Wasn’t sure if it would work but I am happy that it did all come together. 🙂

      Reply
  3. Maria says

    February 27, 2020 at 7:23 am

    Very cute and clever

    Reply
    • Linda @ Mixed Kreations says

      March 2, 2020 at 9:49 am

      Thanks Maria! It was a fun project!

      Reply
  4. Holly says

    April 22, 2020 at 4:51 pm

    Looks great! What a fun project!

    Reply
    • Linda @ Mixed Kreations says

      June 22, 2020 at 2:08 pm

      Thanks Holly! Glad you enjoyed it!

      Reply

Leave a Reply Cancel reply

Your email address will not be published. Required fields are marked *

CommentLuv badgeShow more posts

This site uses Akismet to reduce spam. Learn how your comment data is processed.

Thanks for sharing your thoughts and comments! I read and appreciate every single one!

Follow Mixed Kreations

Facebooktwitterpinterestyoutubeinstagram

My Favorites on Amazon

My Amazon Influencer Shop

Homemade Chalk Paint

diy chalk paint

How to Make Rusty Cans

how to make rusty cans

How to Make a Flag From a Wood Shutter

how to make a 2 sided american flag

Easter Egg Jar

How to make a Easter egg jar

Diy Texas Tile Coasters

Texas Tile Coasters

Update a Thrift Store Find

How to Update a Hanging Box in 4 easy steps

Categories

By Kelli & Crystal From Learn To Blog Hangouts

#LearntoBlog Hangouts

Dominate Course

LearntoBlog
Featured on Hometalk.com
Rakuten Affiliate Network Welcome Program
Grow and Make

Dollar Tree

Creative Fabrica Font Bundles

Font Banner - Free Fonts

Featured At

Featured At

Mixed Kreations featured in Country sampler

Featured at

mixed kreations is featured in Bella Crafts online magazine
The Pin Junkie

Canva Photo Editing

Amazon Affiliates

I am a participant in the Amazon Services LLC Associates Program, an affiliate advertising program designed to provide a means for sites to earn advertising fees by advertising and linking to Amazon.com.

Disclosures Statement

This policy is valid from 19 July 2013 This blog is a personal blog written and edited by me. For questions about this blog, please contact Linda @ ldkeesee@mixedkreations.com. This blog accepts forms of cash advertising, sponsorship, paid insertions or other forms of compensation. The compensation received will never influence the content, topics or posts made in this blog. All advertising is in the form of advertisements generated by a third party ad network. Those advertisements will be identified as paid advertisements. The owner(s) of this blog is compensated to provide opinion on products, services, websites and various other topics. Even though the owner(s) of this blog receives compensation for our posts or advertisements, we always give our honest opinions, findings, beliefs, or experiences on those topics or products. The views and opinions expressed on this blog are purely the bloggers' own. Any product claim, statistic, quote or other representation about a product or service should be verified with the manufacturer, provider or party in question. This blog does not contain any content which might present a conflict of interest. To get your own policy, go to http://www.disclosurepolicy.org

Copyright © 2023 · Modern Blogger Pro Theme By, Pretty Darn Cute Design